Installing a Windows Virtual Machine with VMware
VMware Fusion vs Player vs Workstation
The instructions given here are with VMware Fusion on OSX. The steps are nearly identical for the other two VMware products.
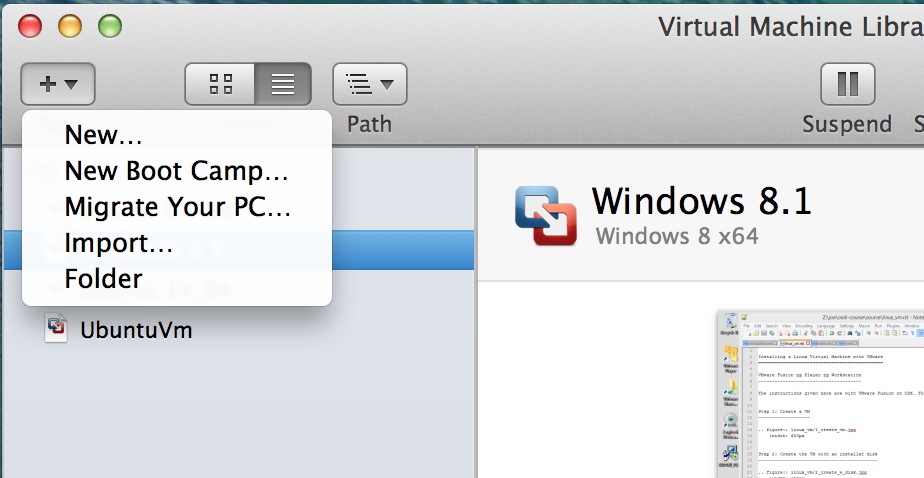
Create a new VM
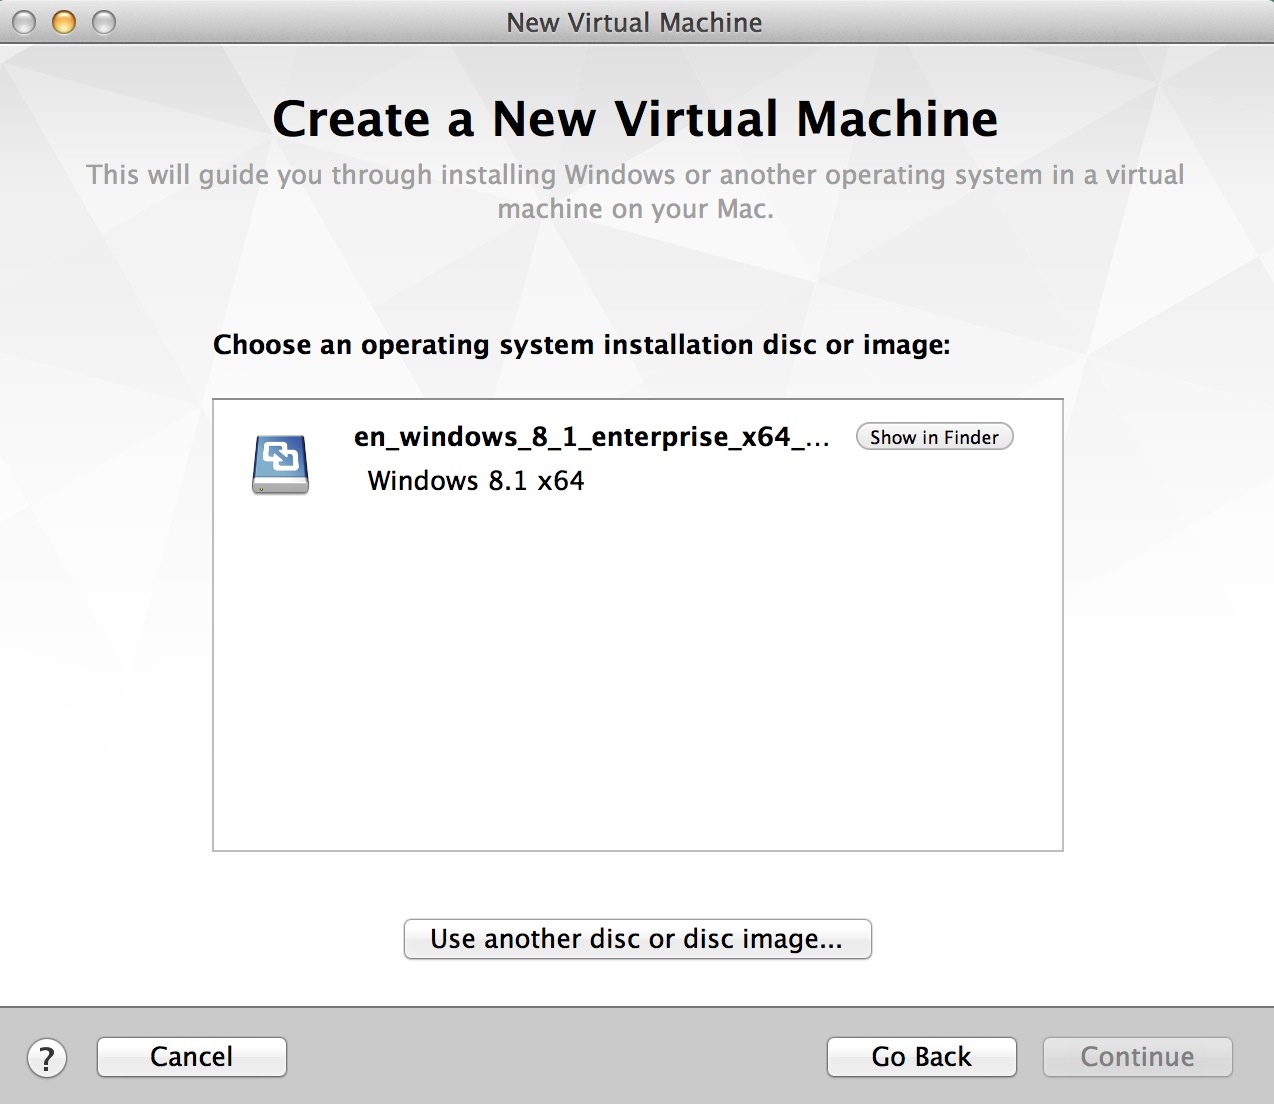
Choose the install disk
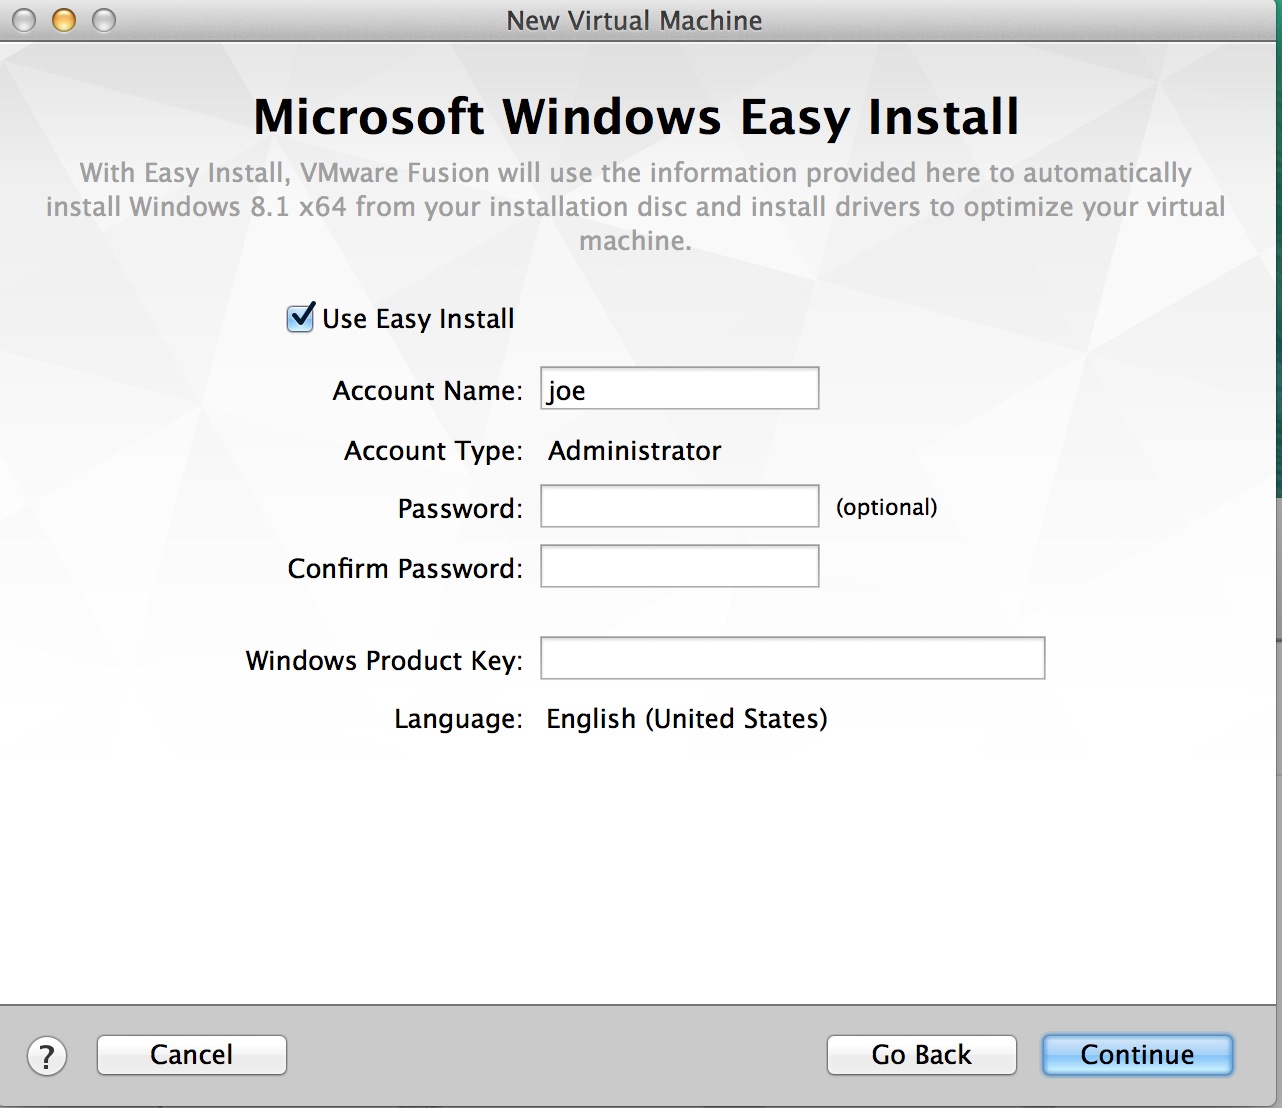
Fill out Easy-Install settings
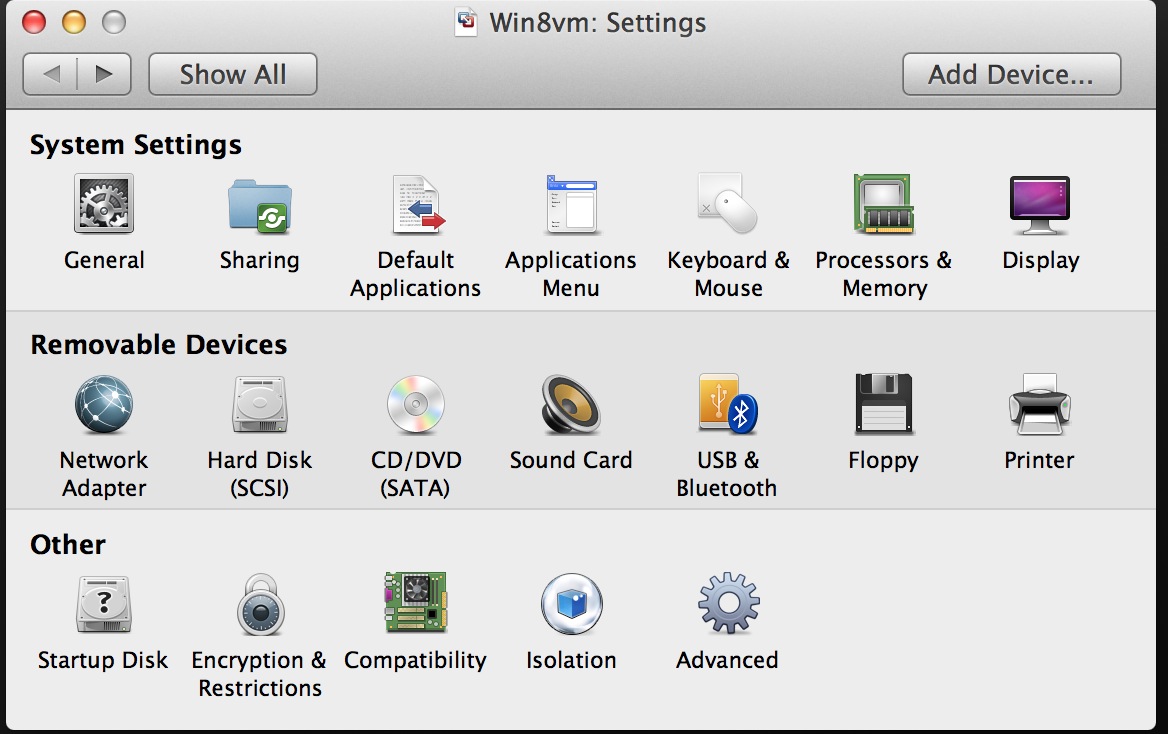
Customize VM settings
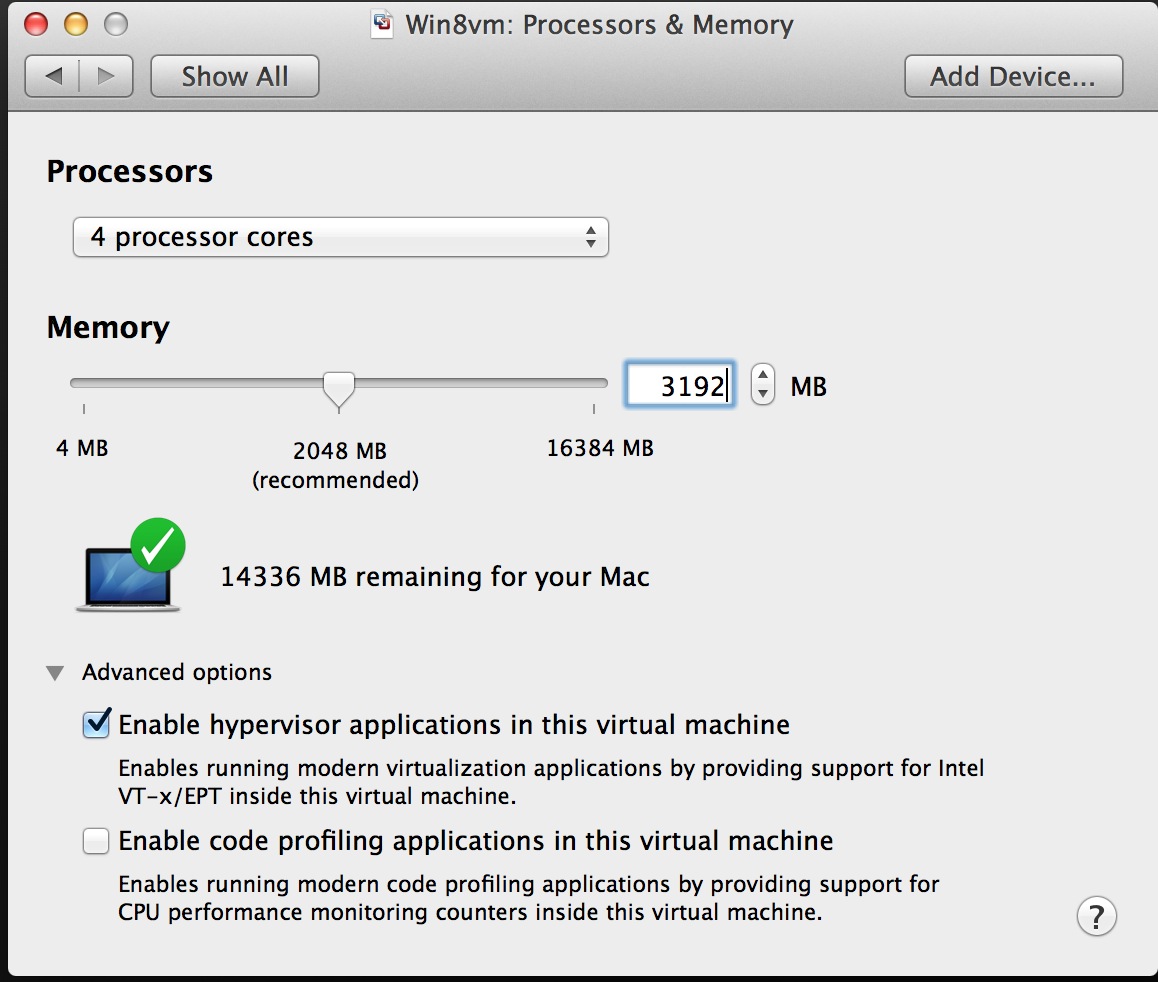
This is Mac specific. VMware doesn’t handle retina displays well. I recommend shutting it off here:

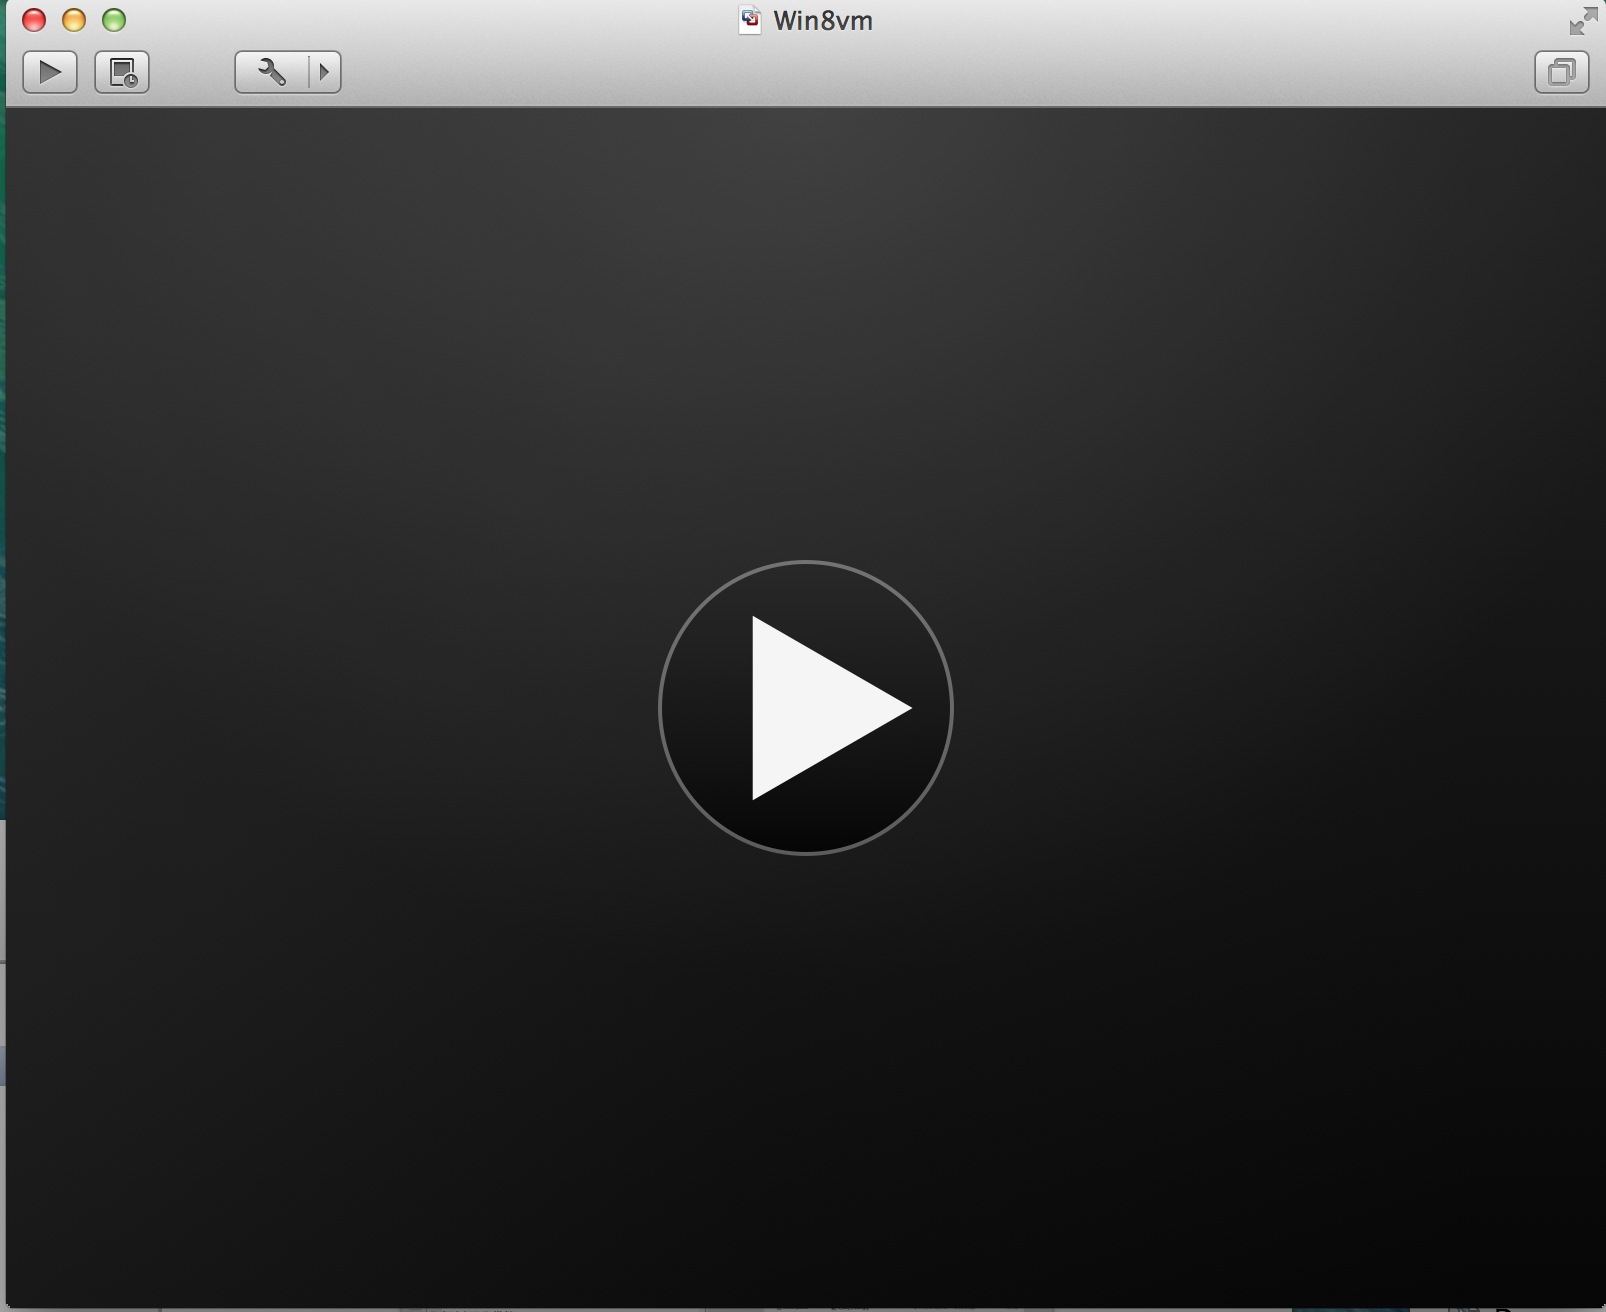
Start the VM
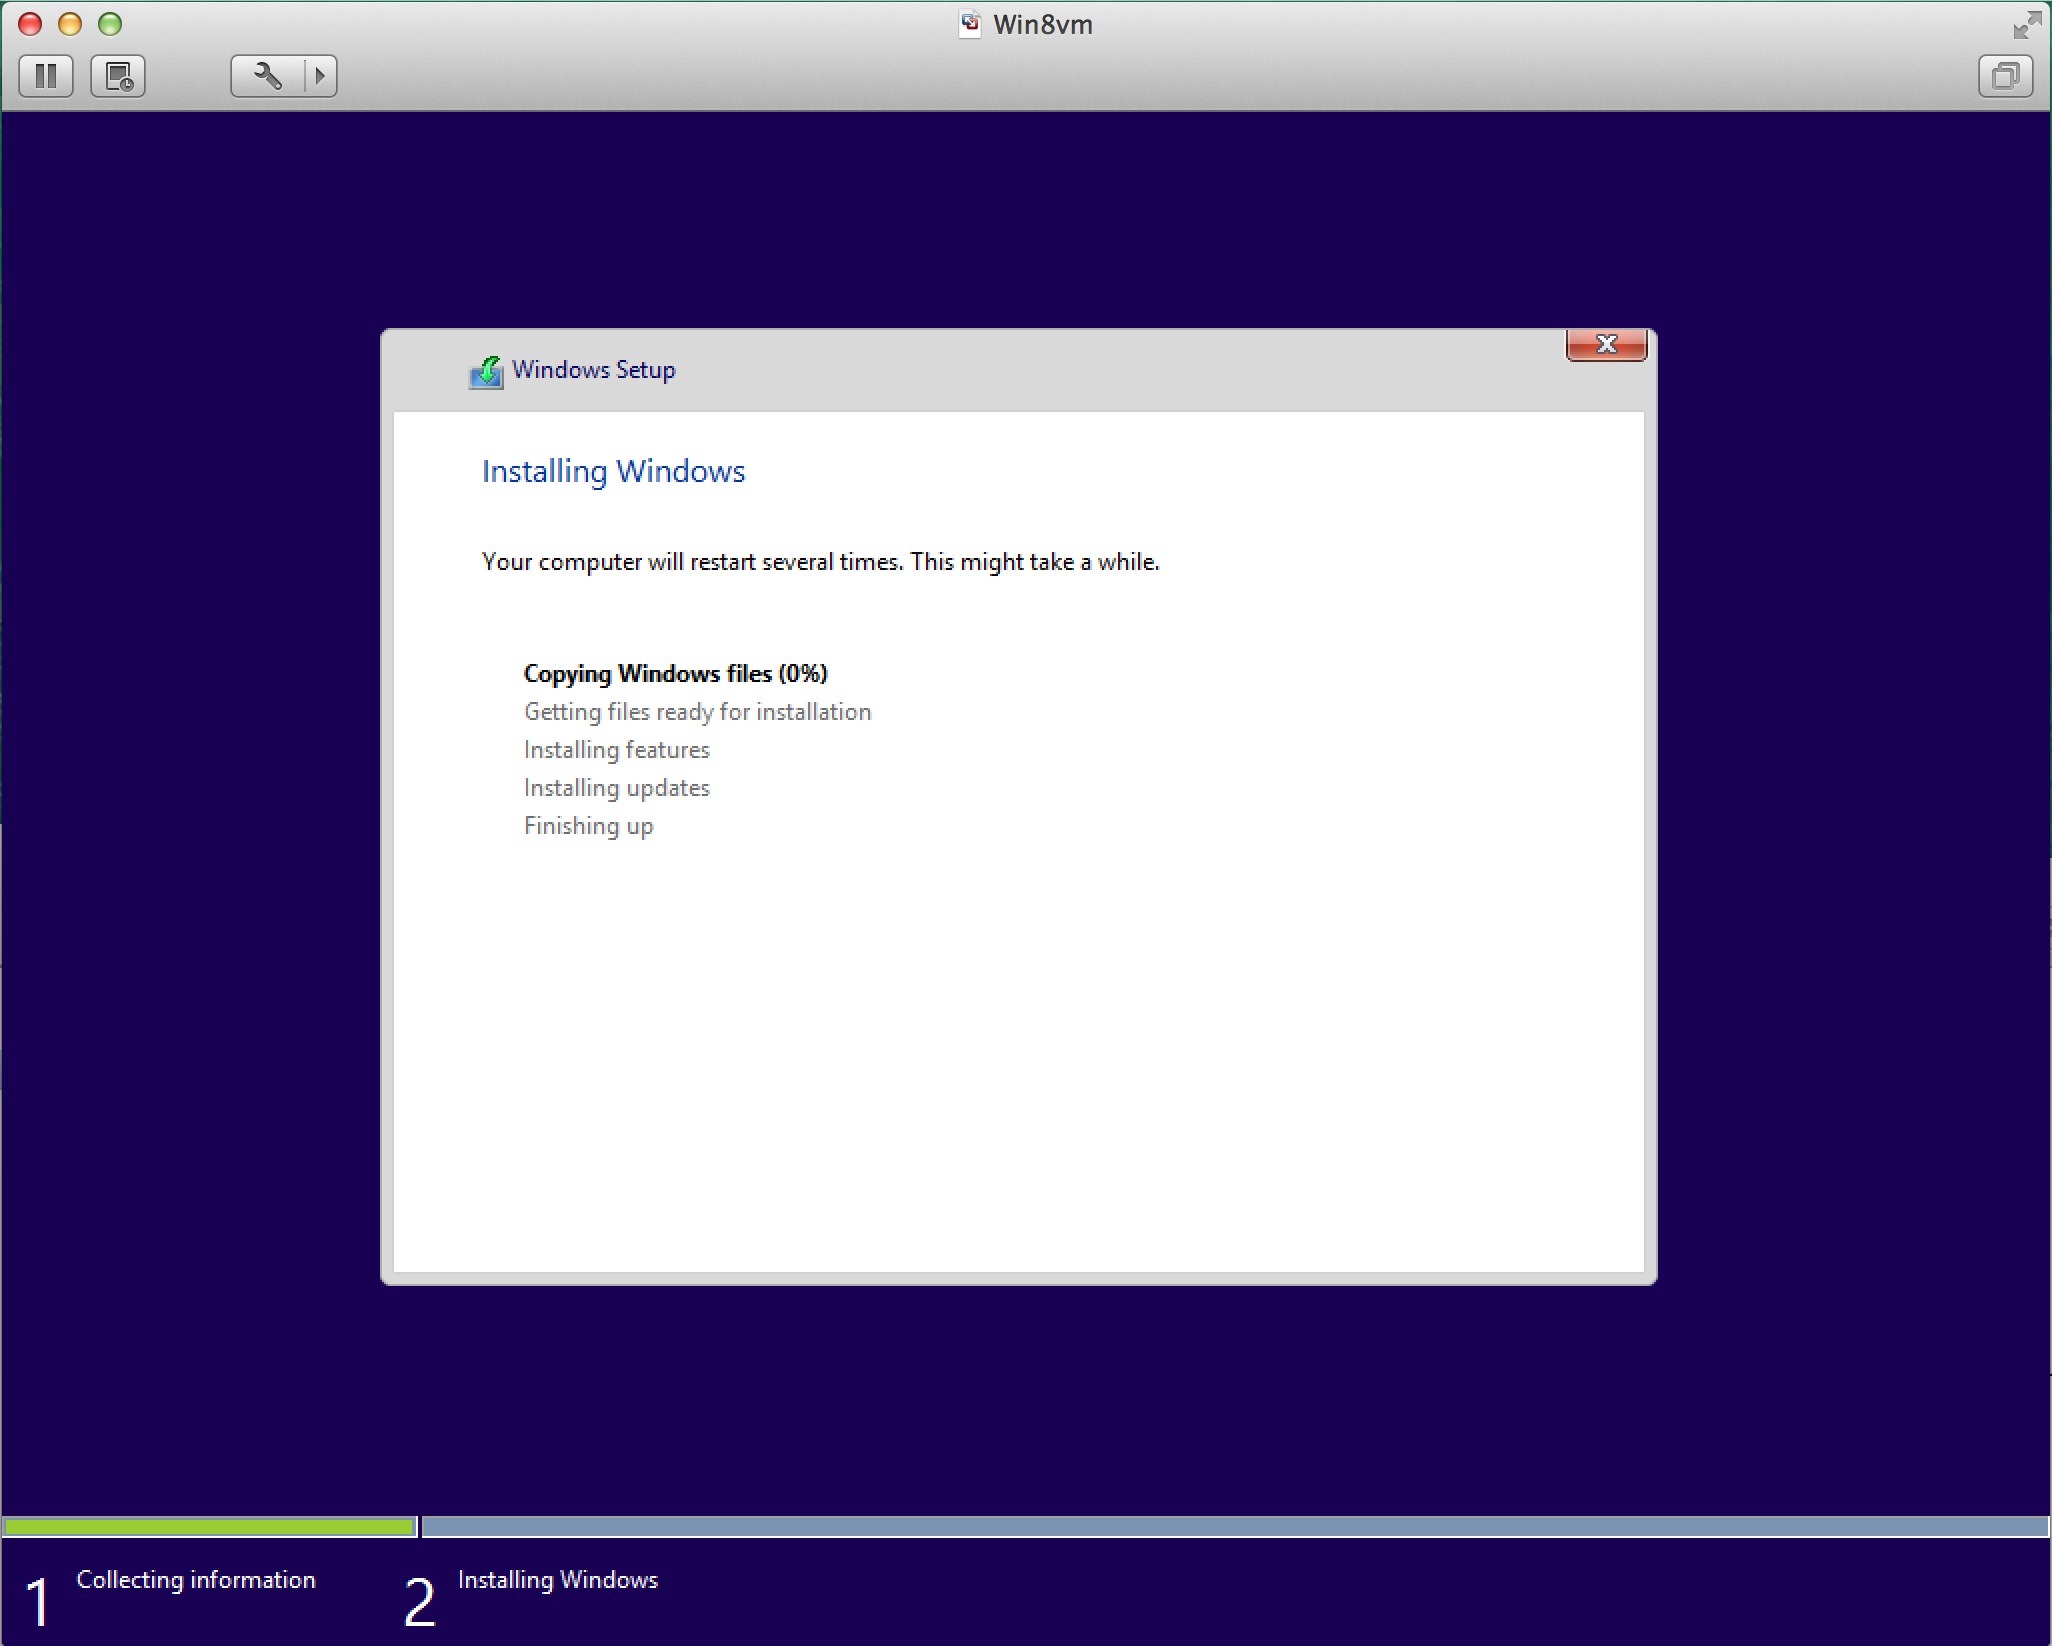
Wait for Easy-Install to complete
The VM will reboot several times. The install took about 20 minutes on my Macbook Pro.
Easy-Install is finished
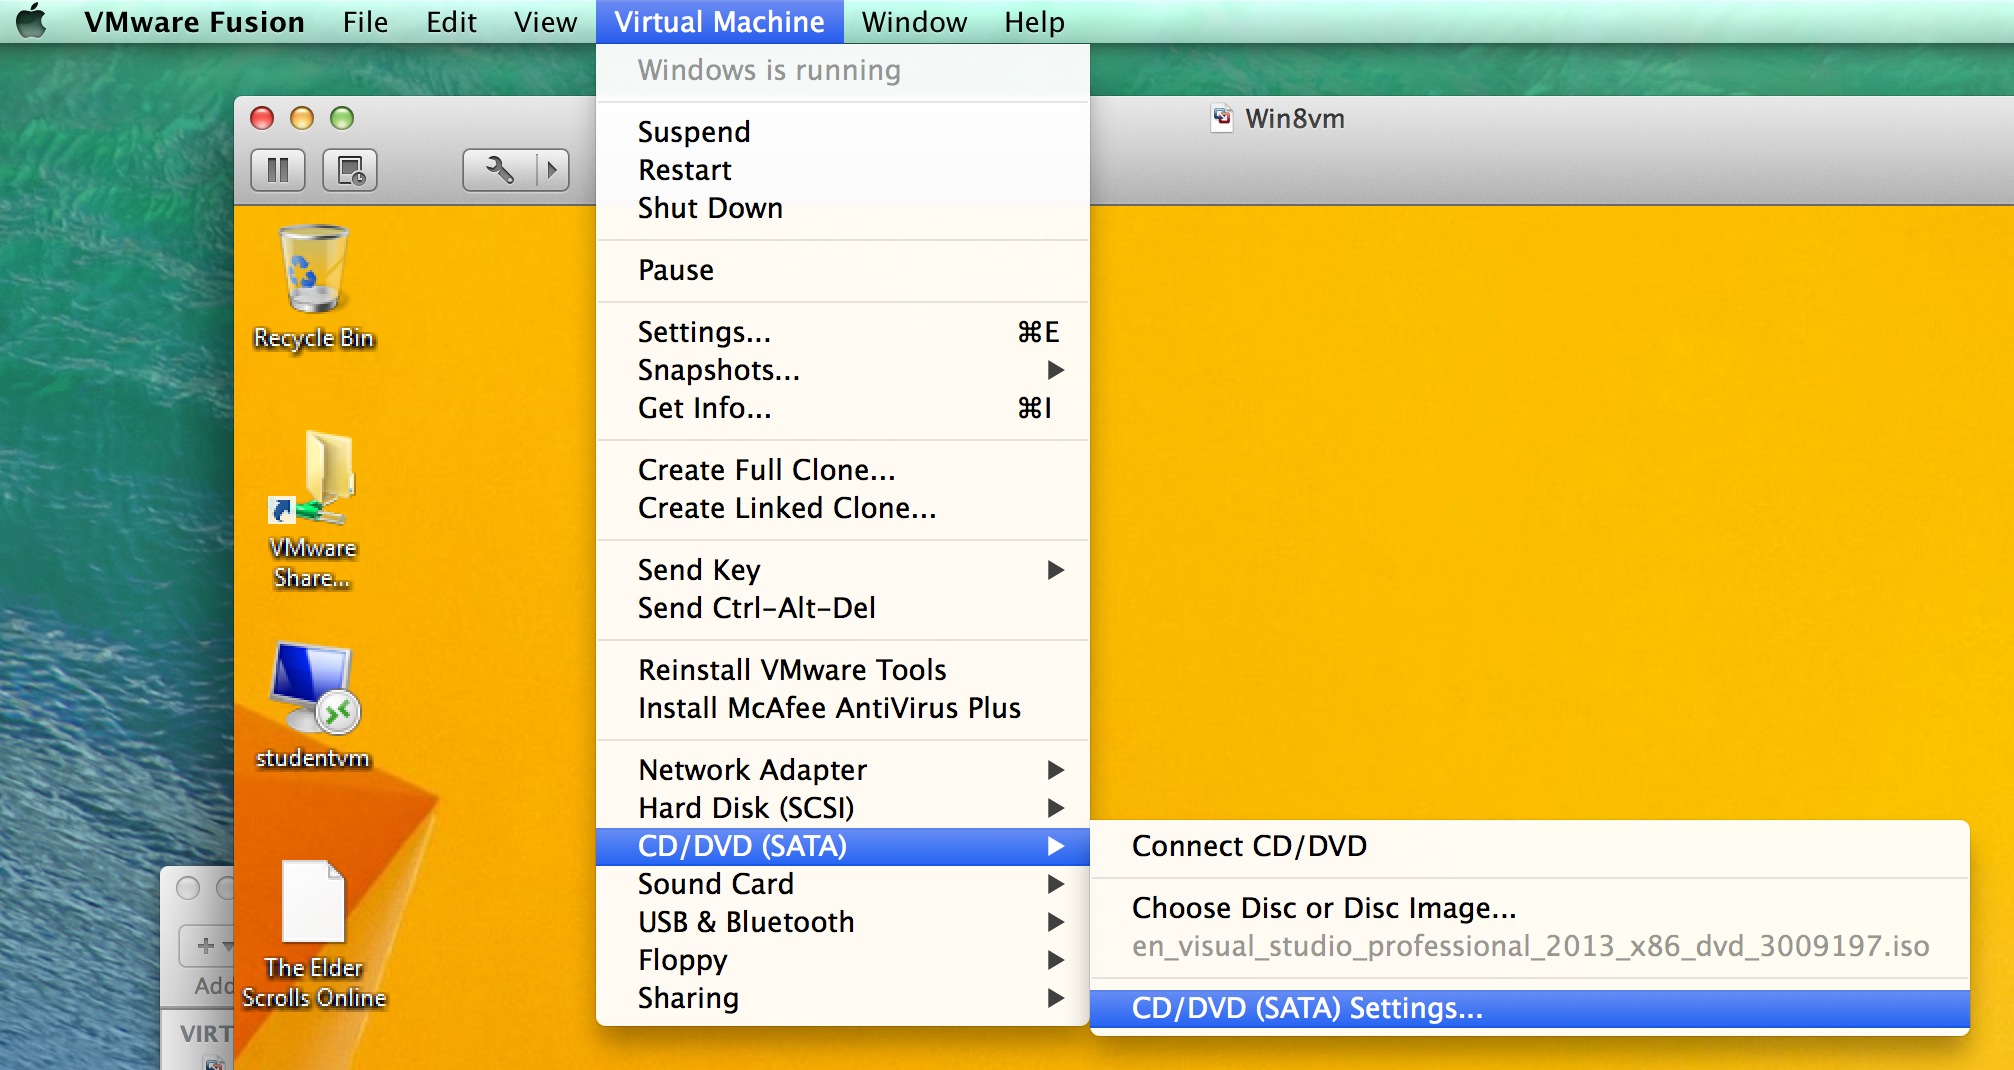
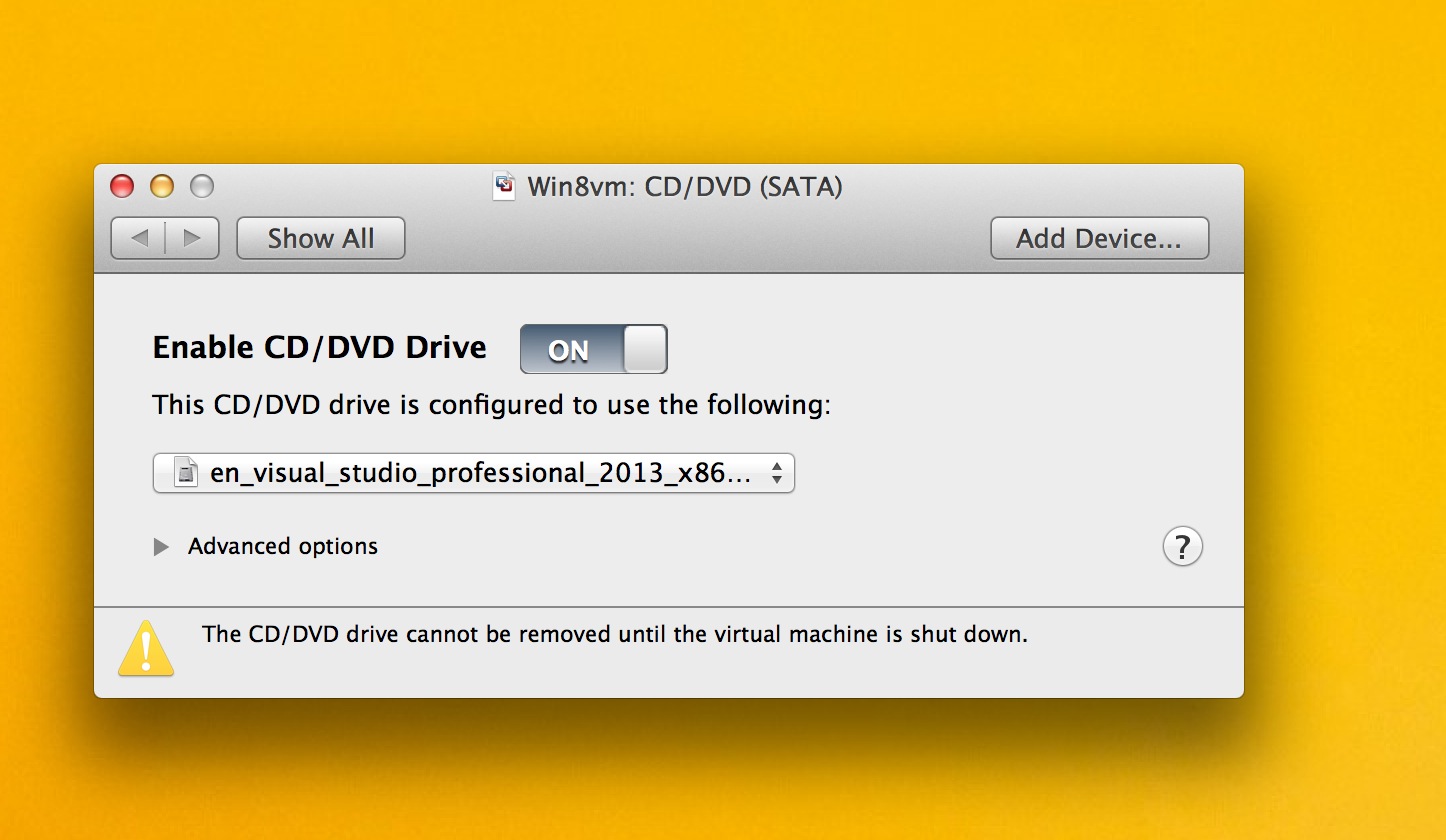
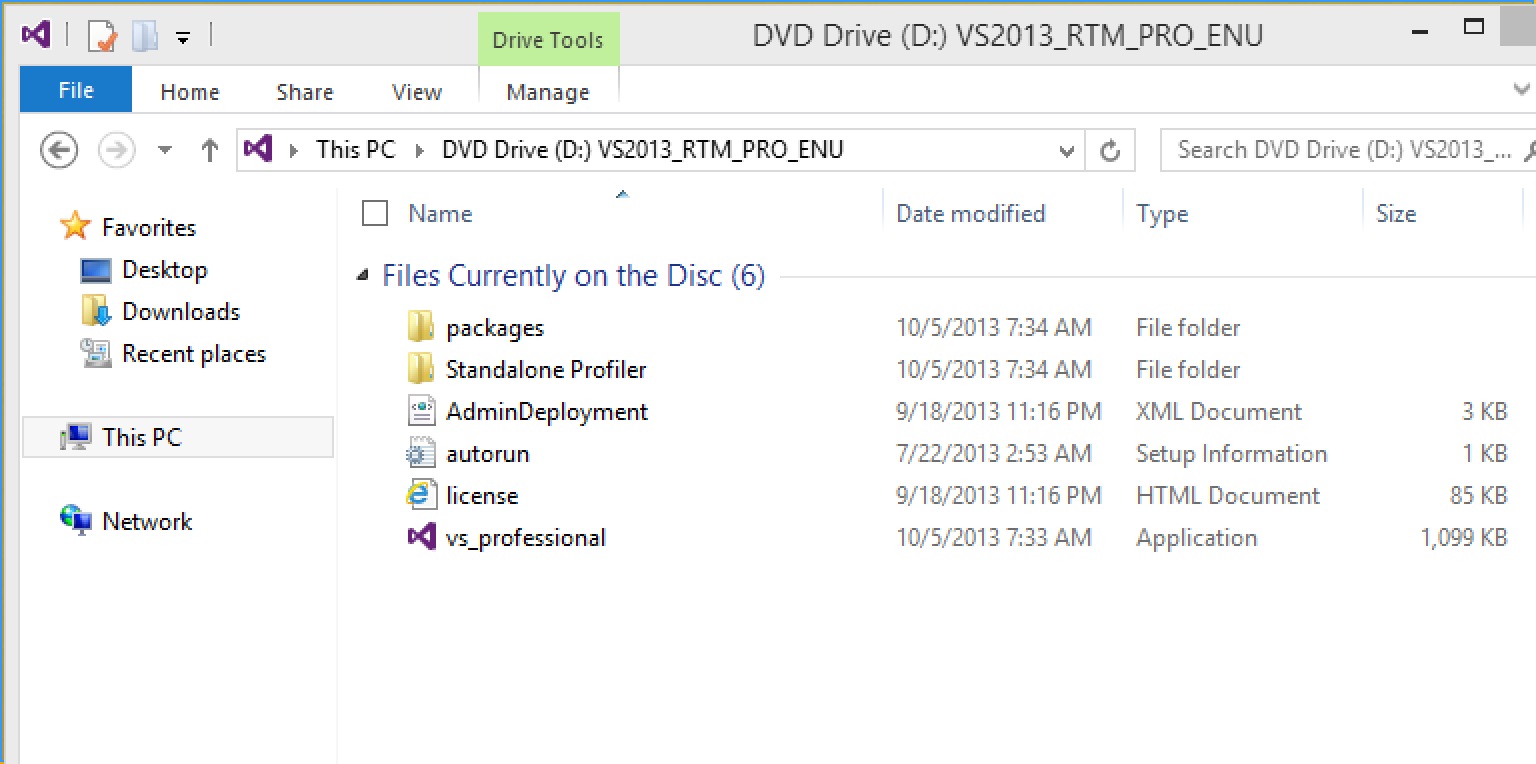
Install Visual Studio - attaching the disk file
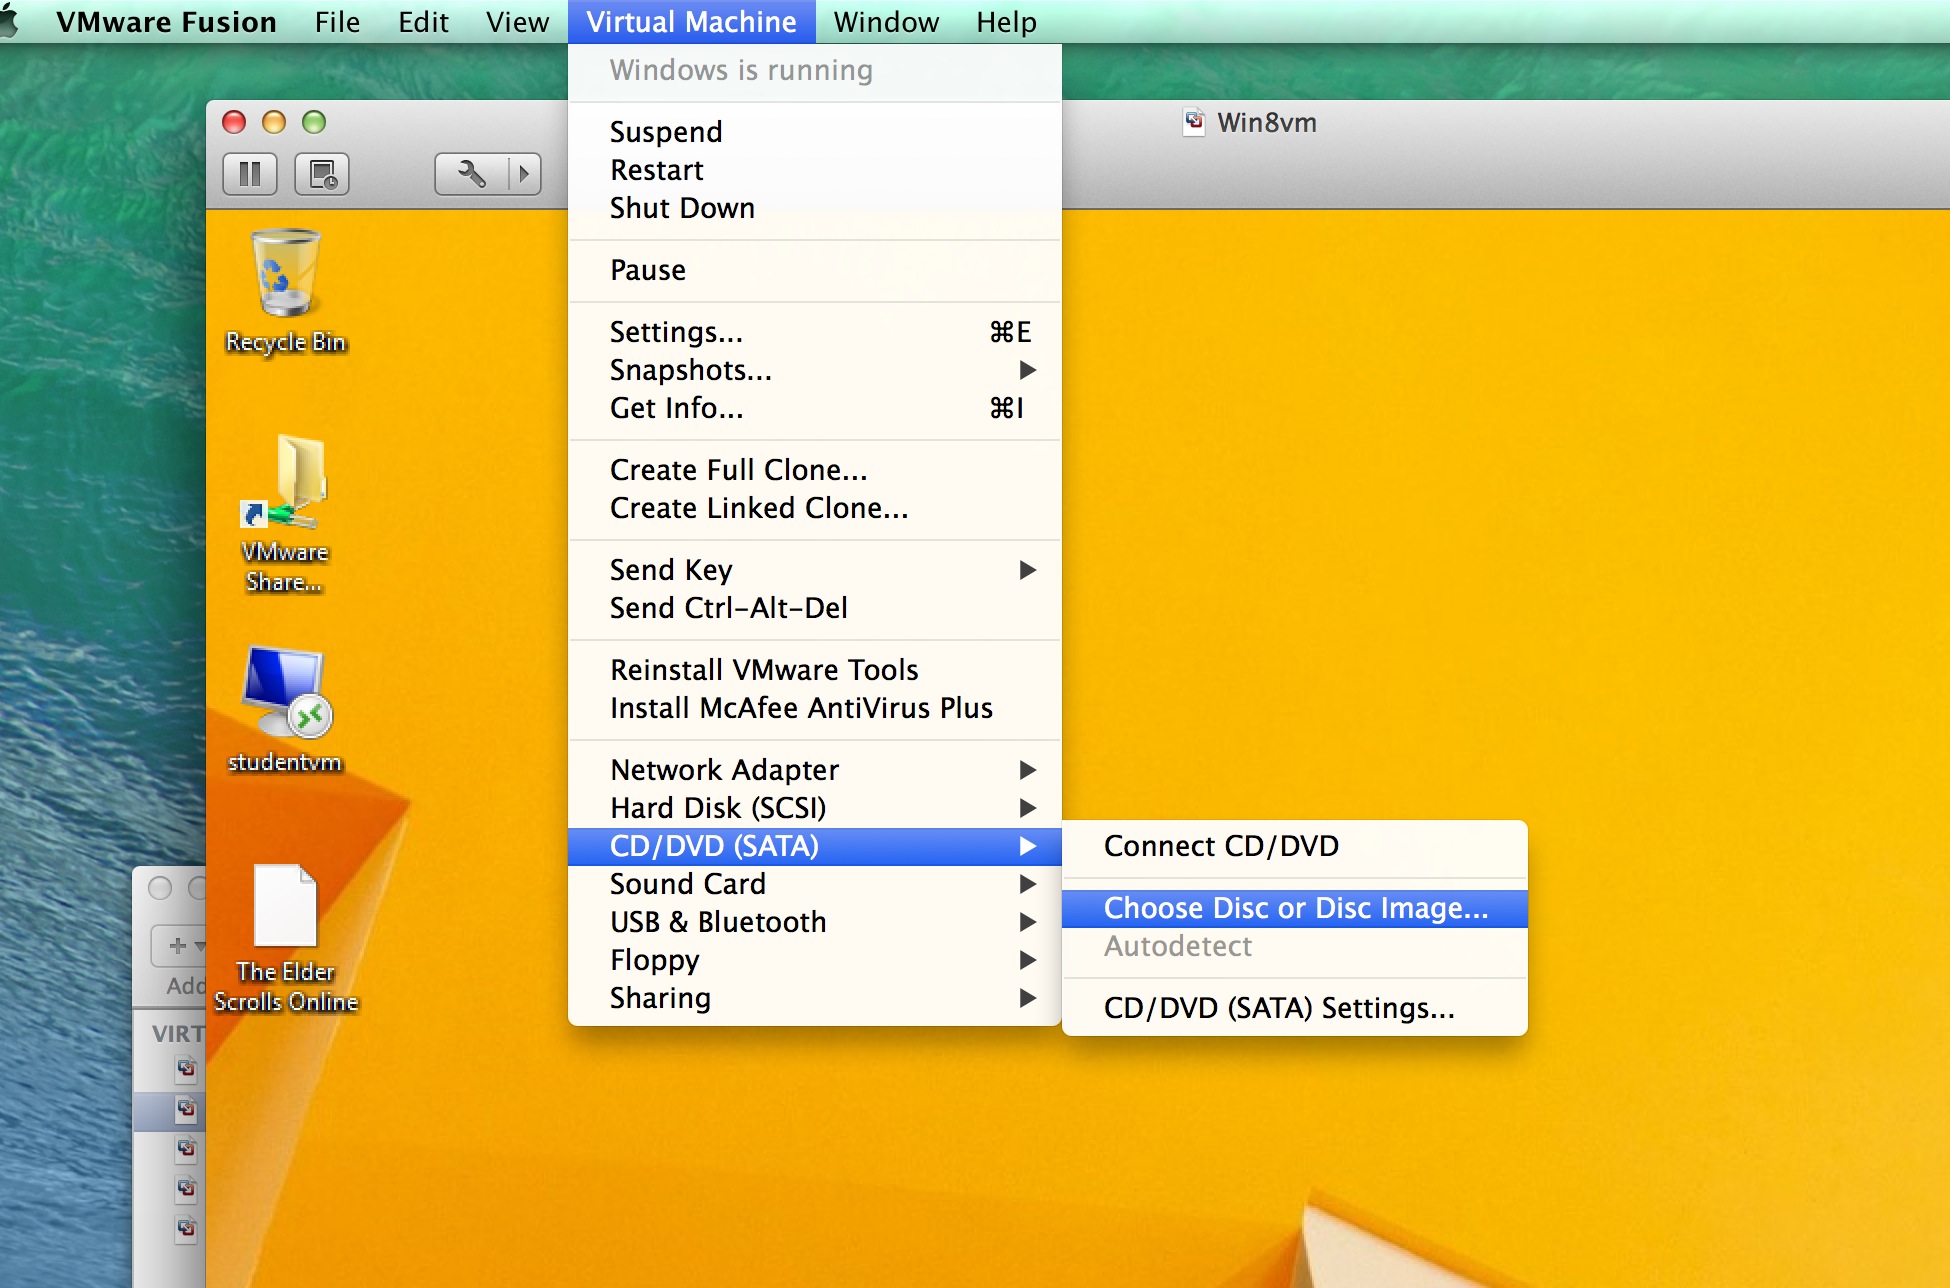
For some reason (at least in vmware fusion), the CD/DVD drive gets disabled. To turn it back on, do this:
Install Visual Studio - start the installer
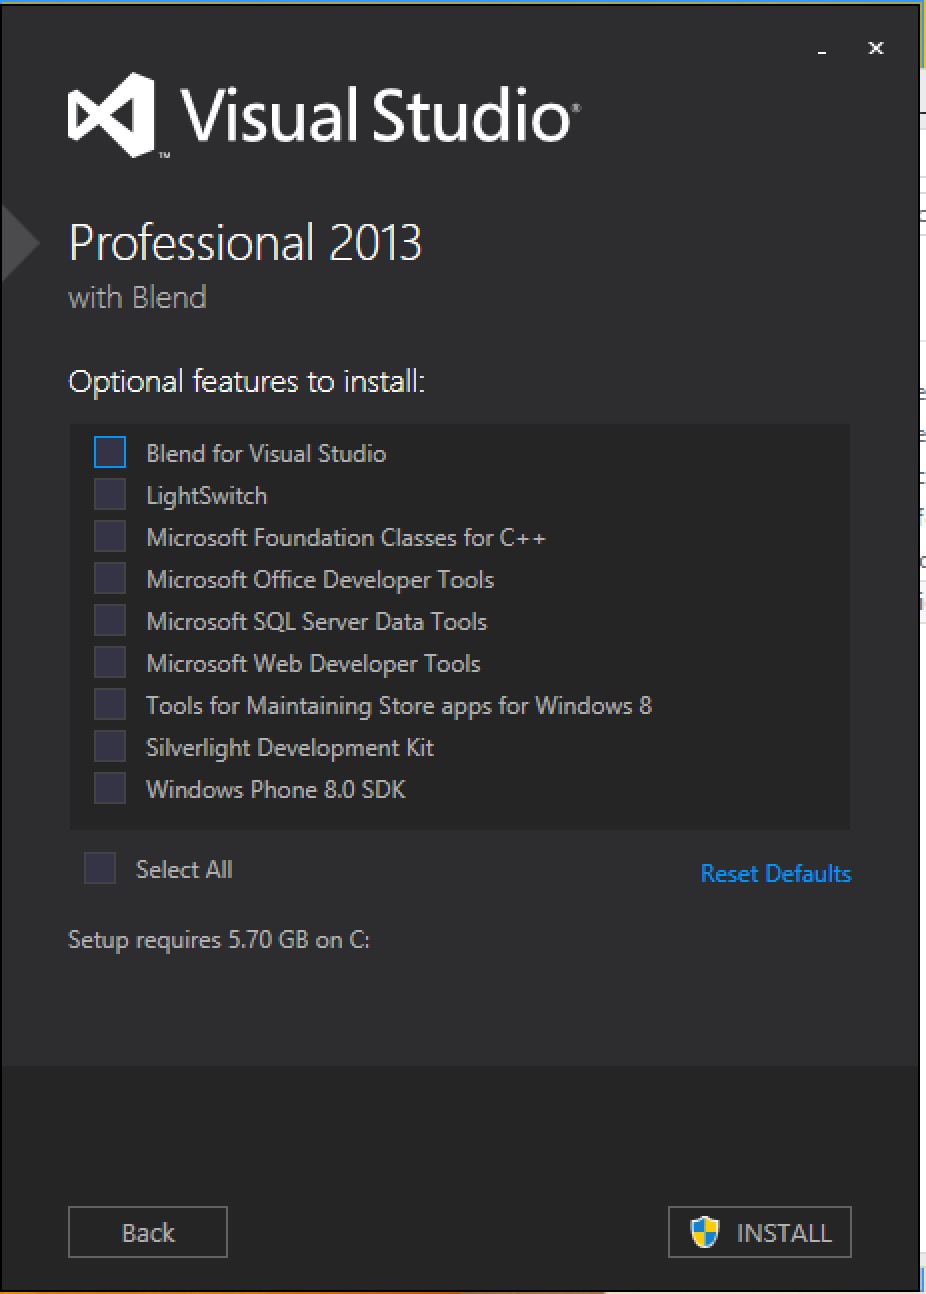
I recommend not including the optional features. They won’t be needed for this course:
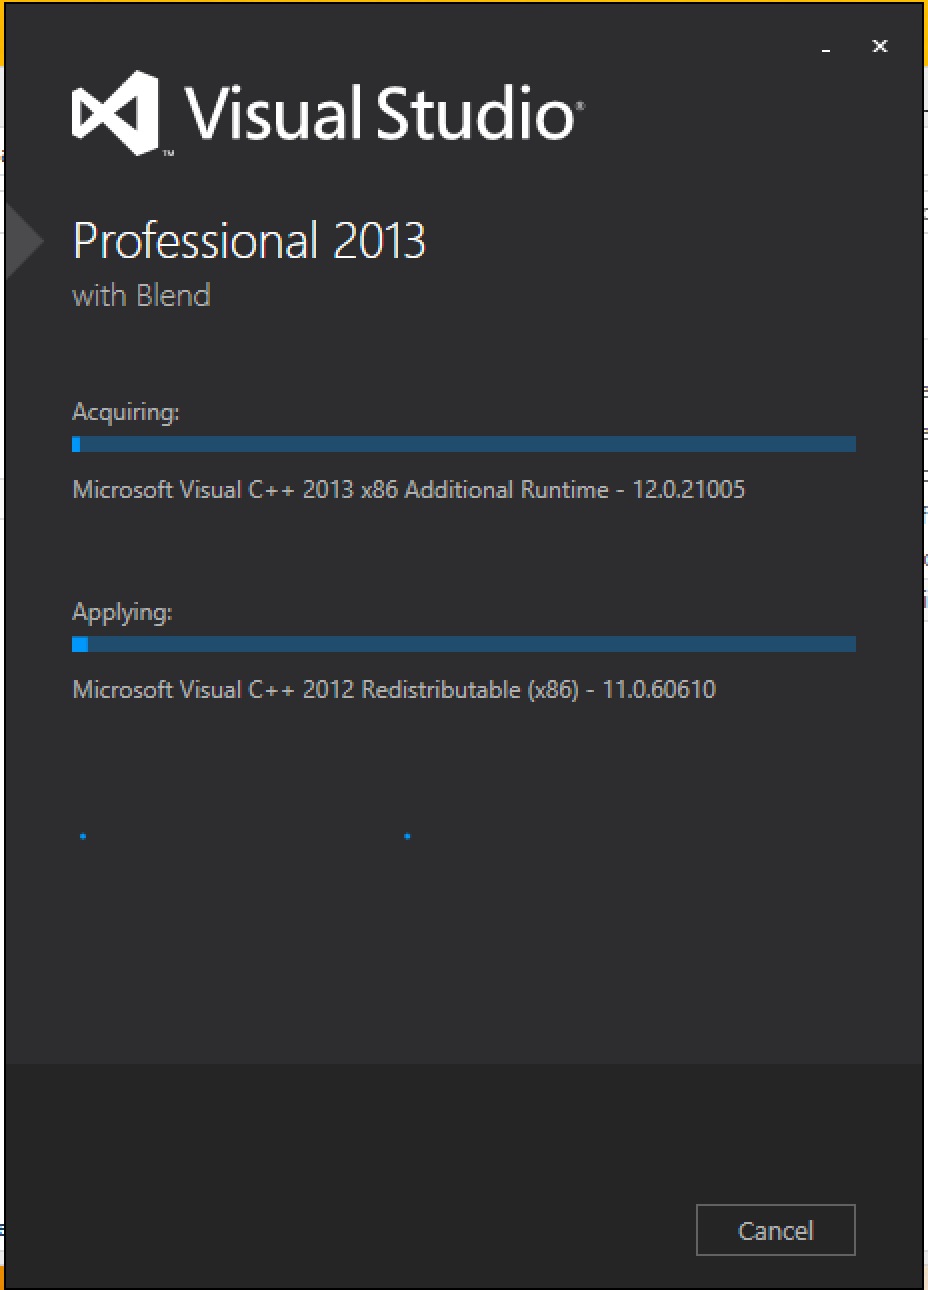
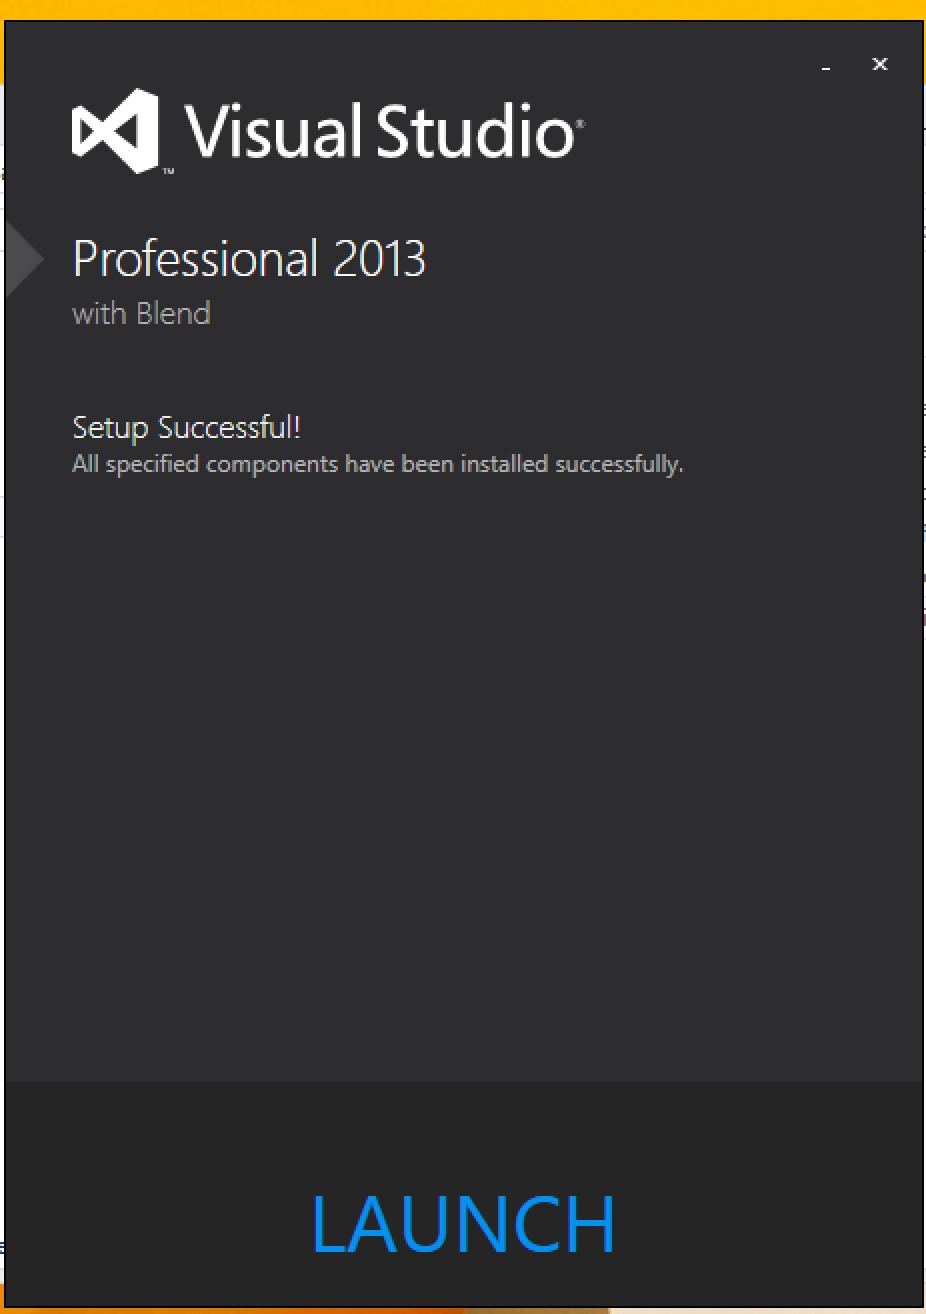
This install will take 20-30 minutes to complete:
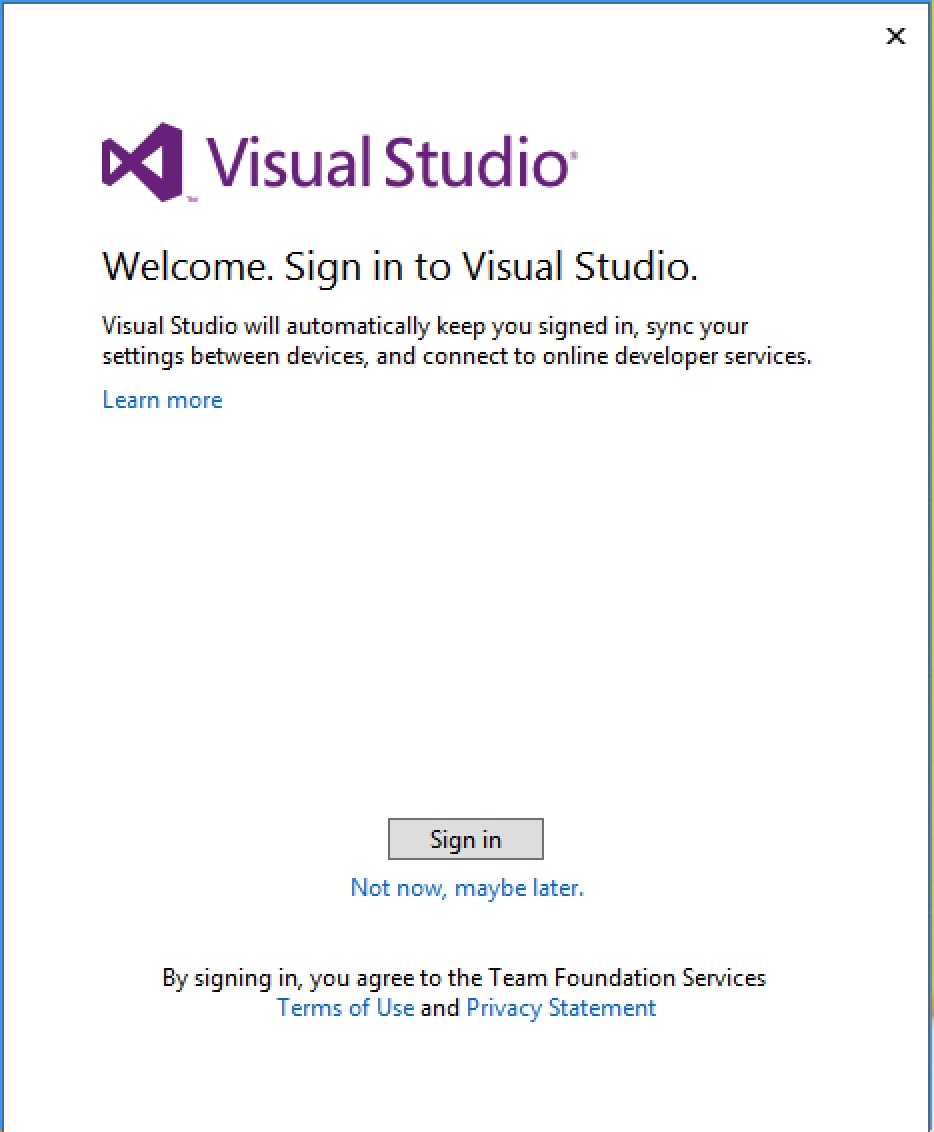
Launch and sign into Visual Studio
This step may or may not be applicable for you. With my MSDN license, I have to sign in to Visual Studio with my Microsoft account
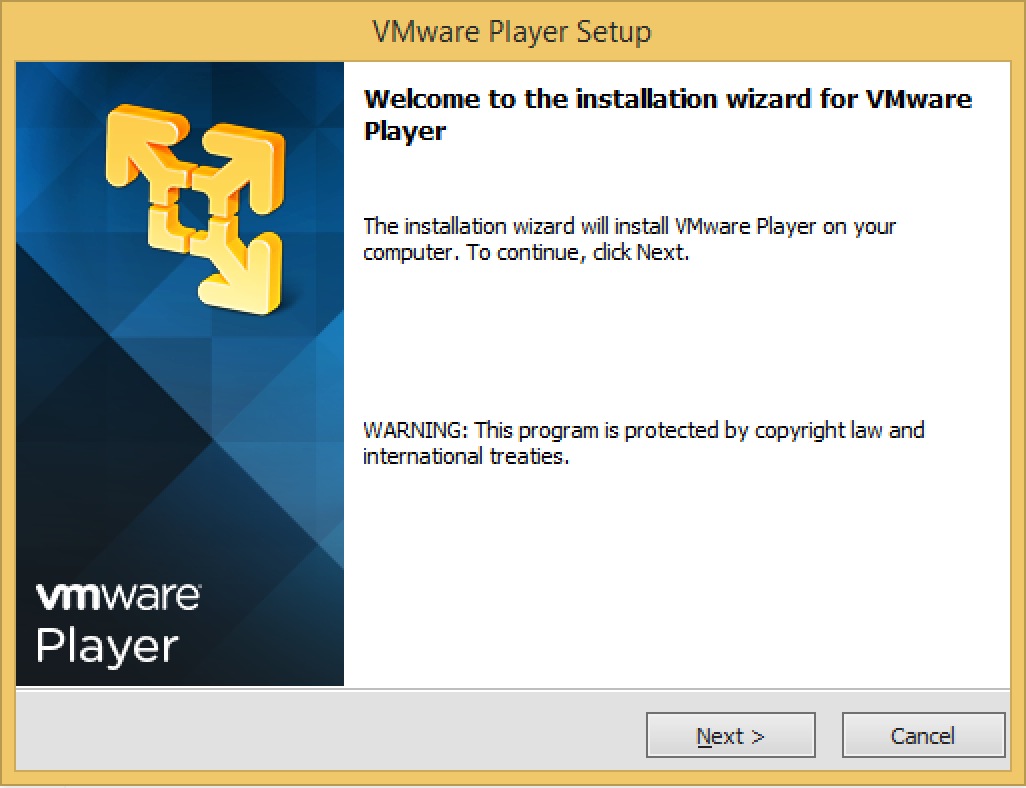
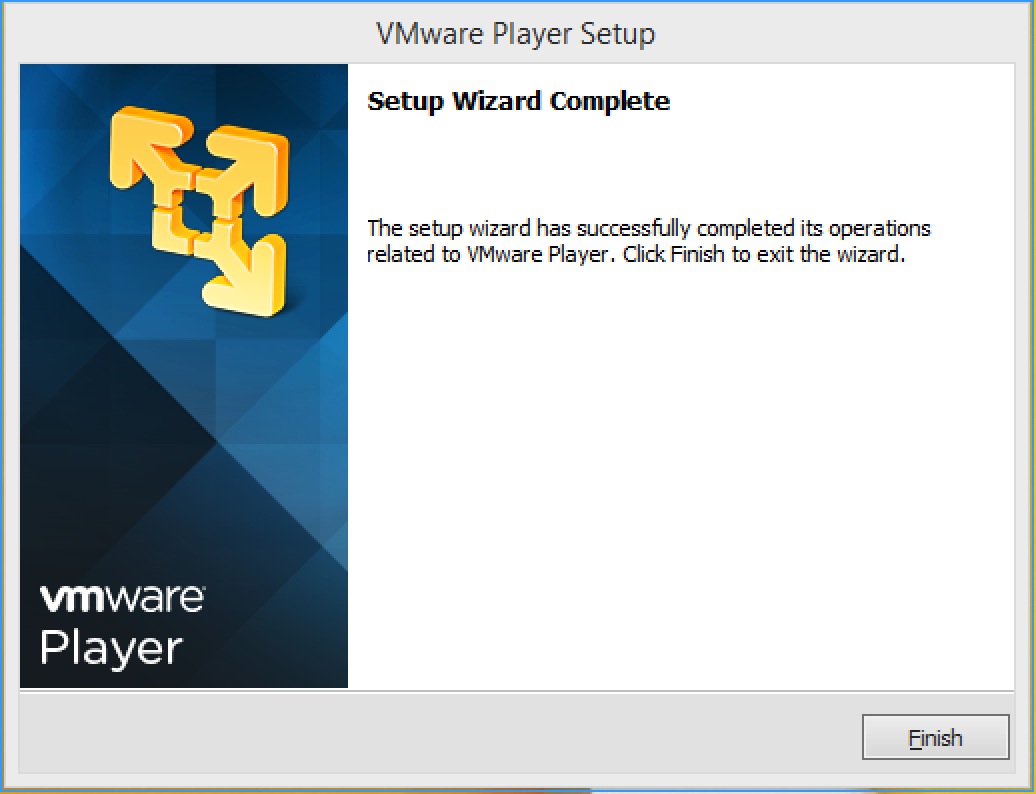
Install VMware Player
The default selections are appropriate for this class.
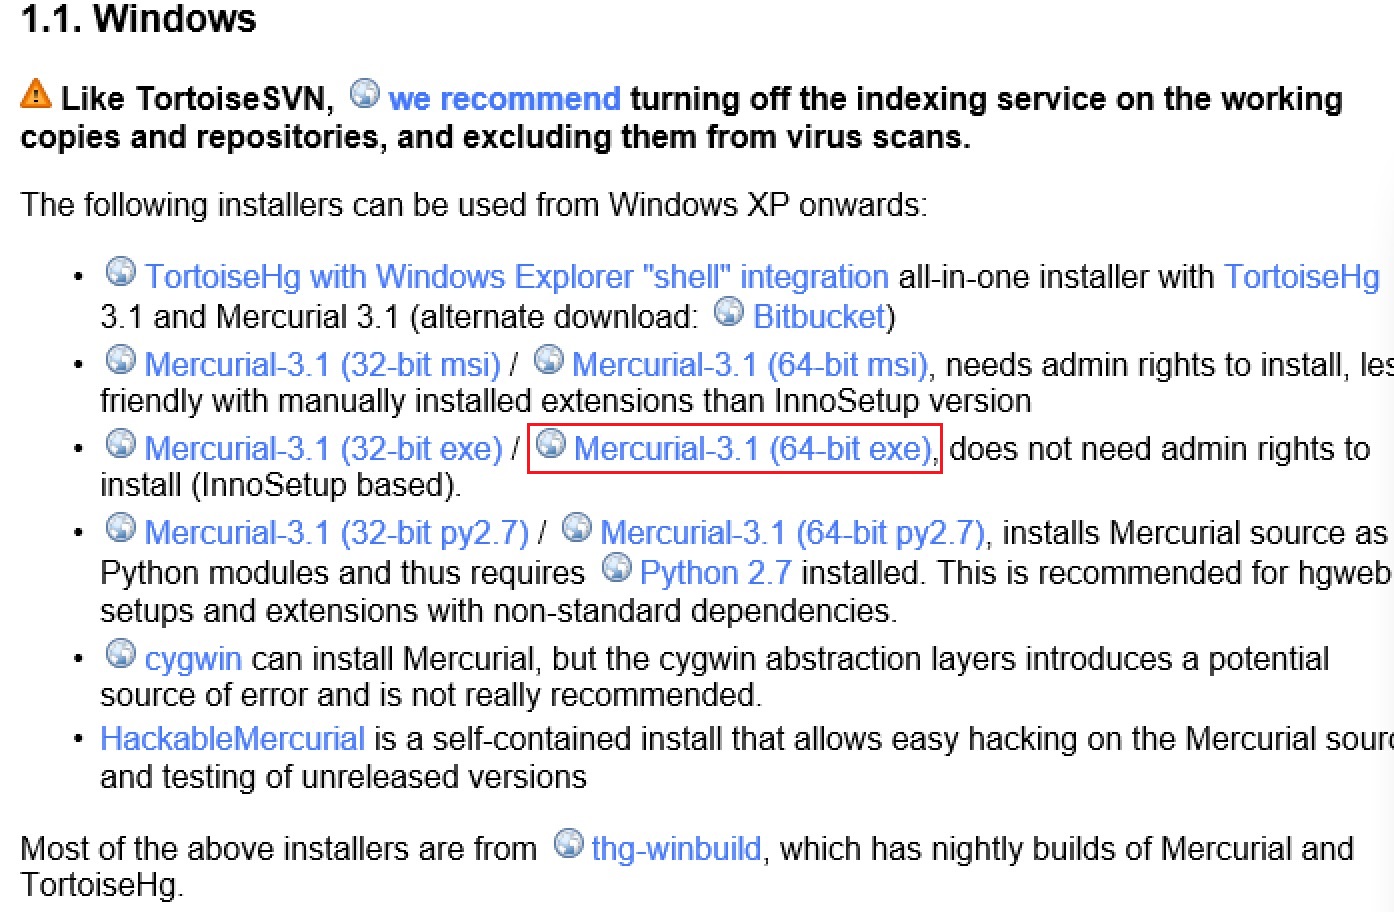
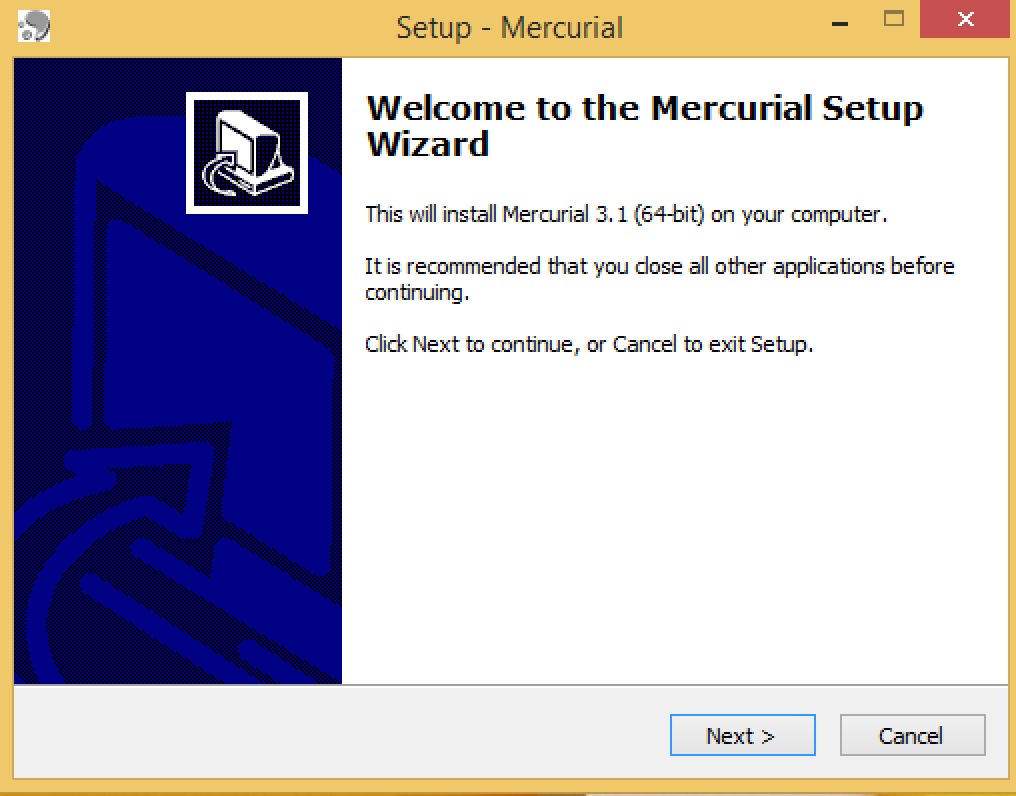
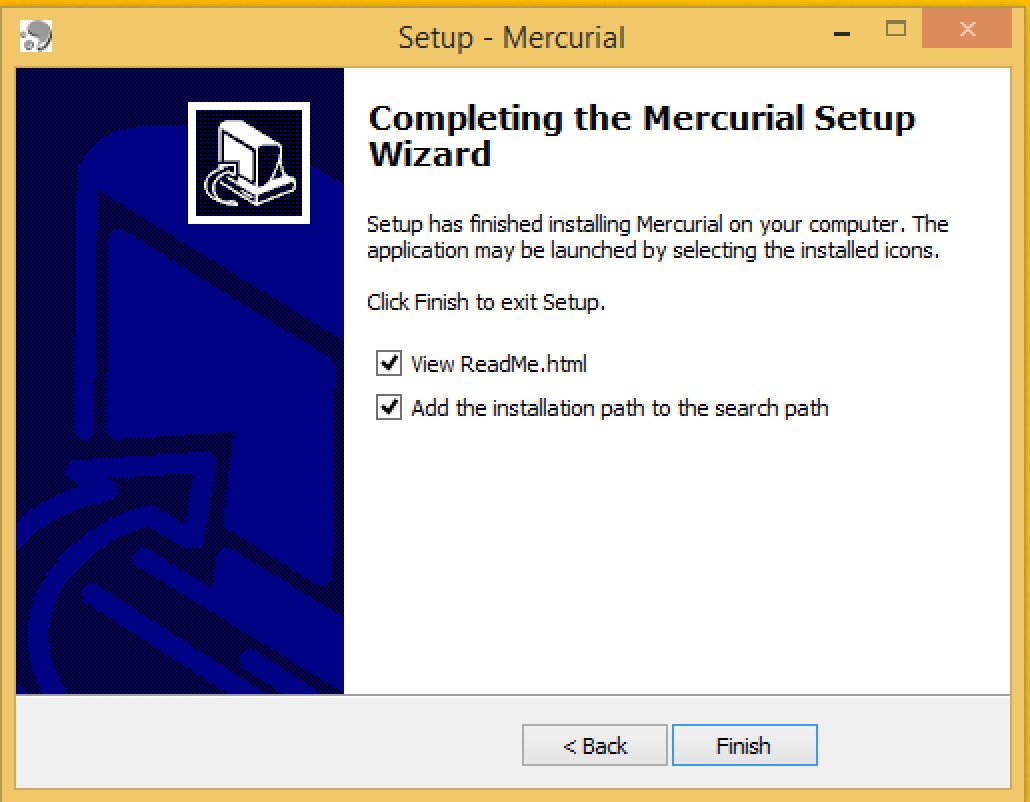
Install Mercurial
When you download the Mercurial installer, this is the one you want:
Configuring and installing software and security updates
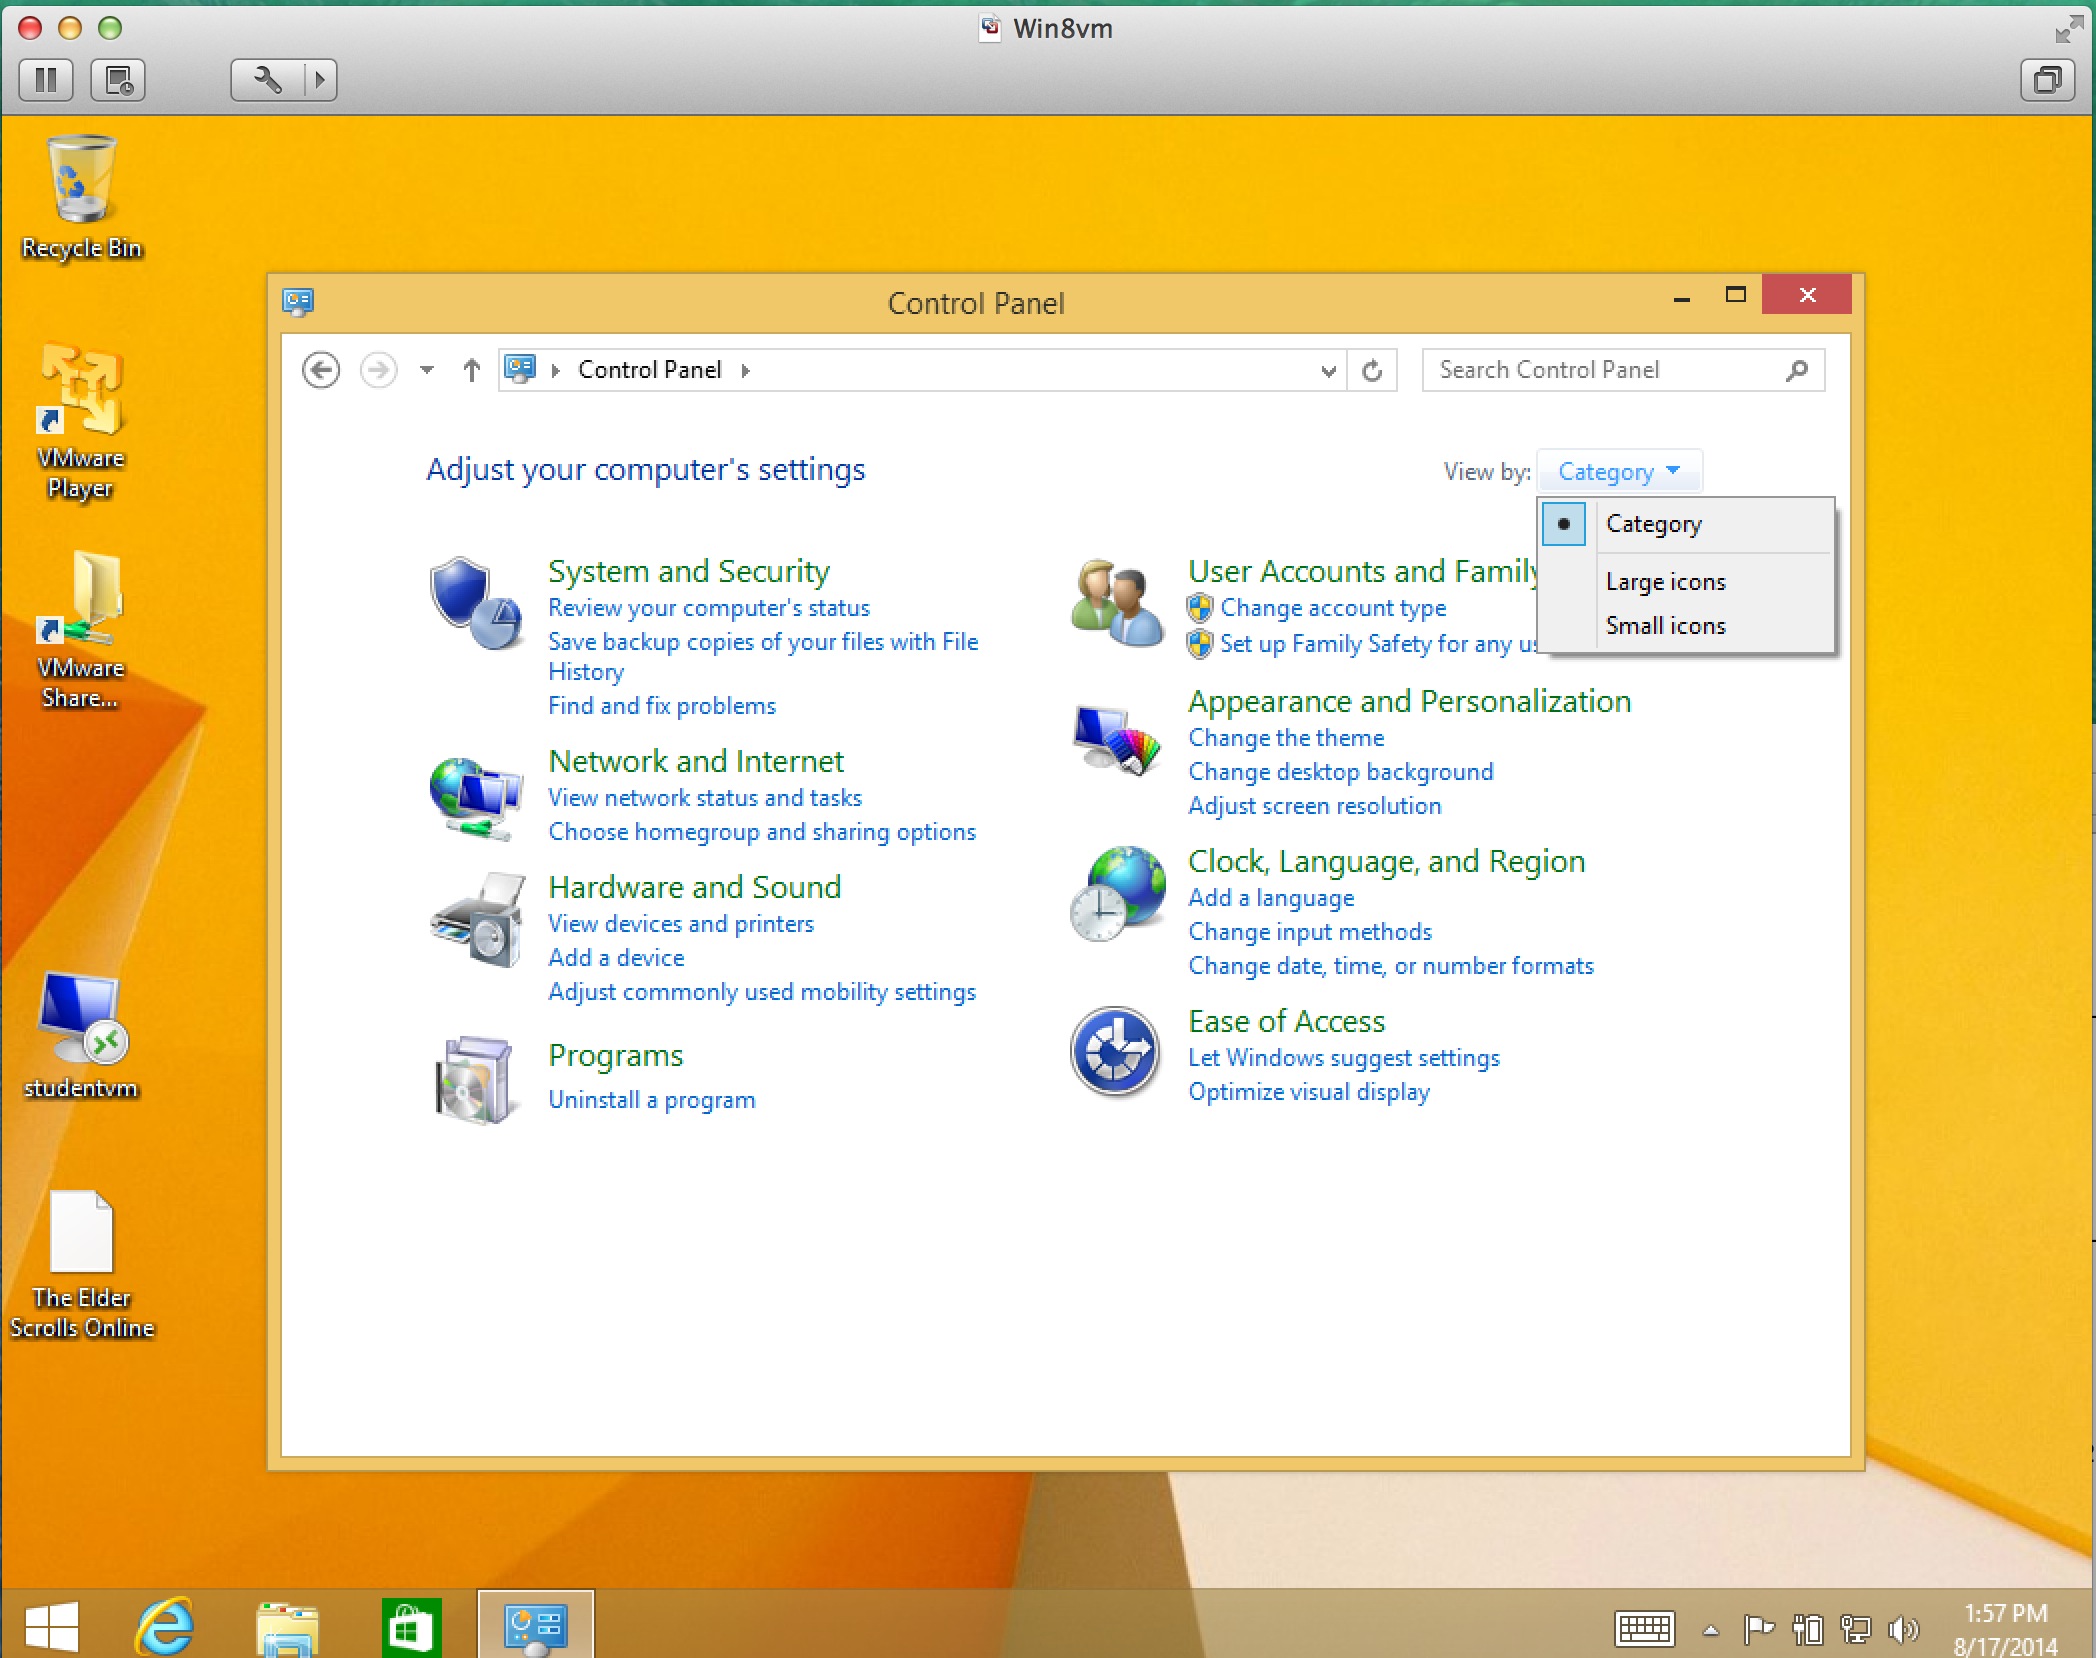
Launch an Explorer window and navigate to the Control Panel

Change the Control Panel to show large icons:
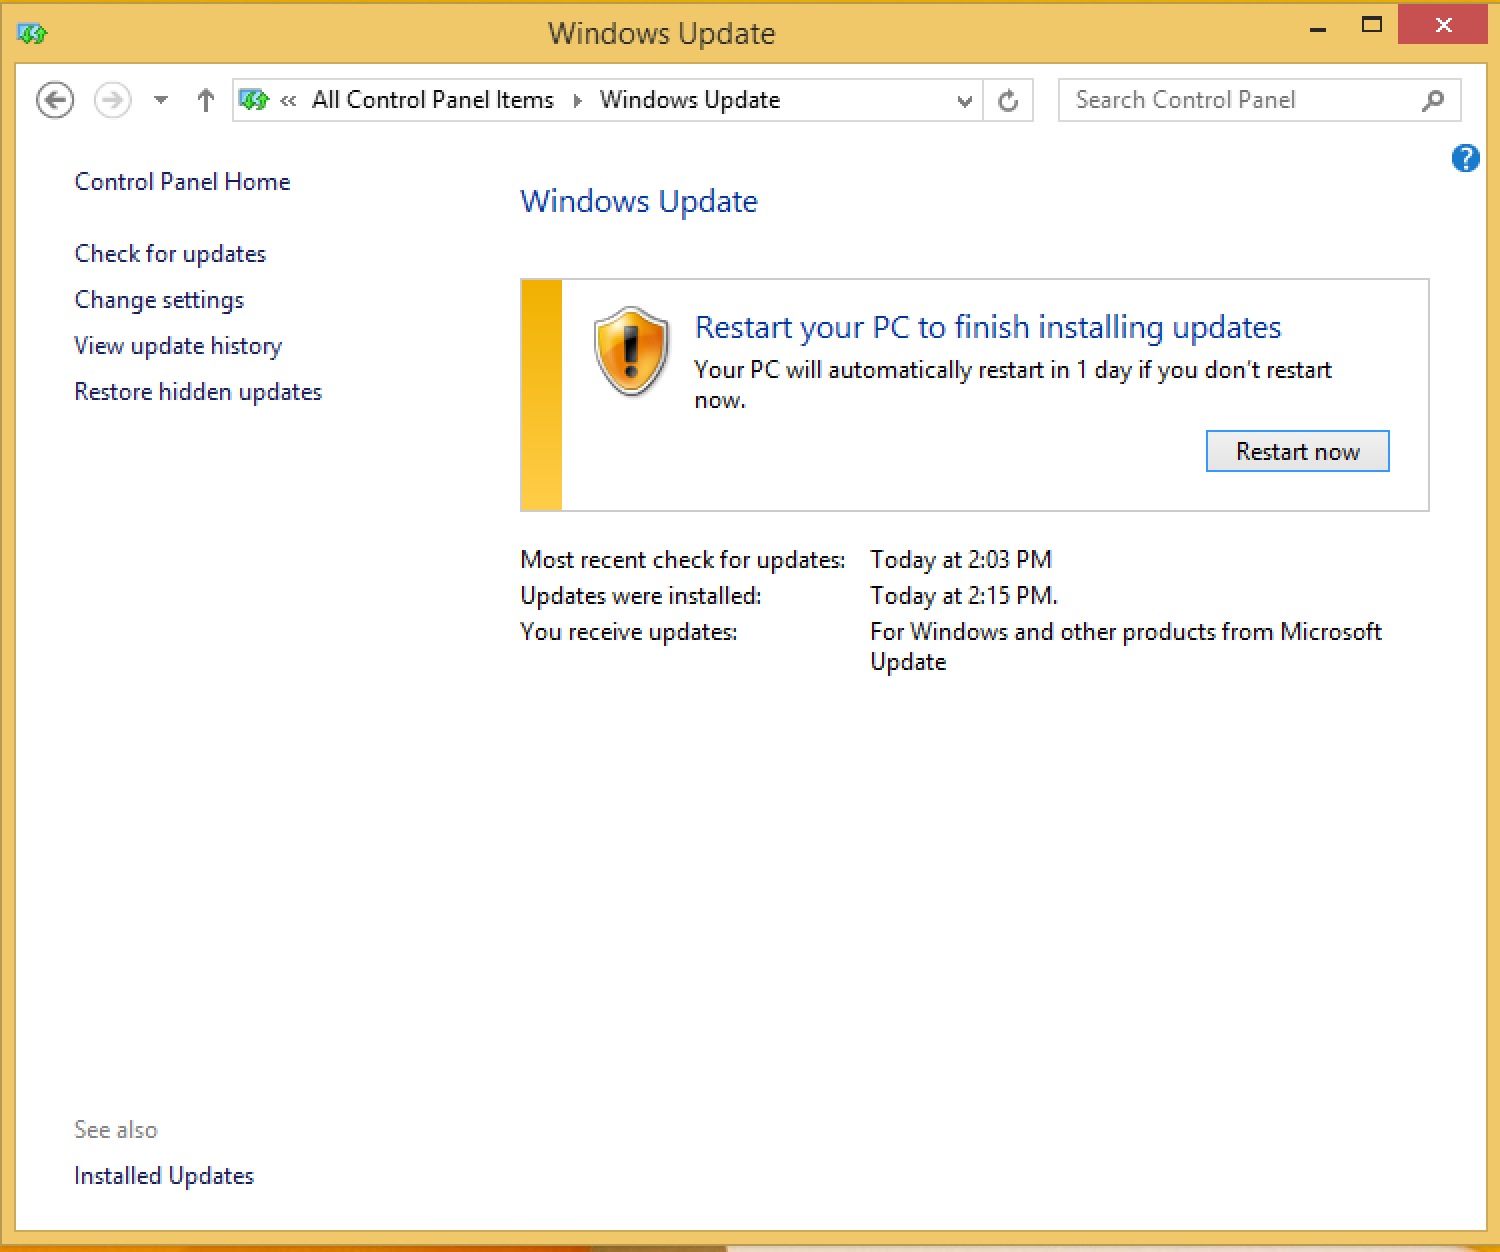
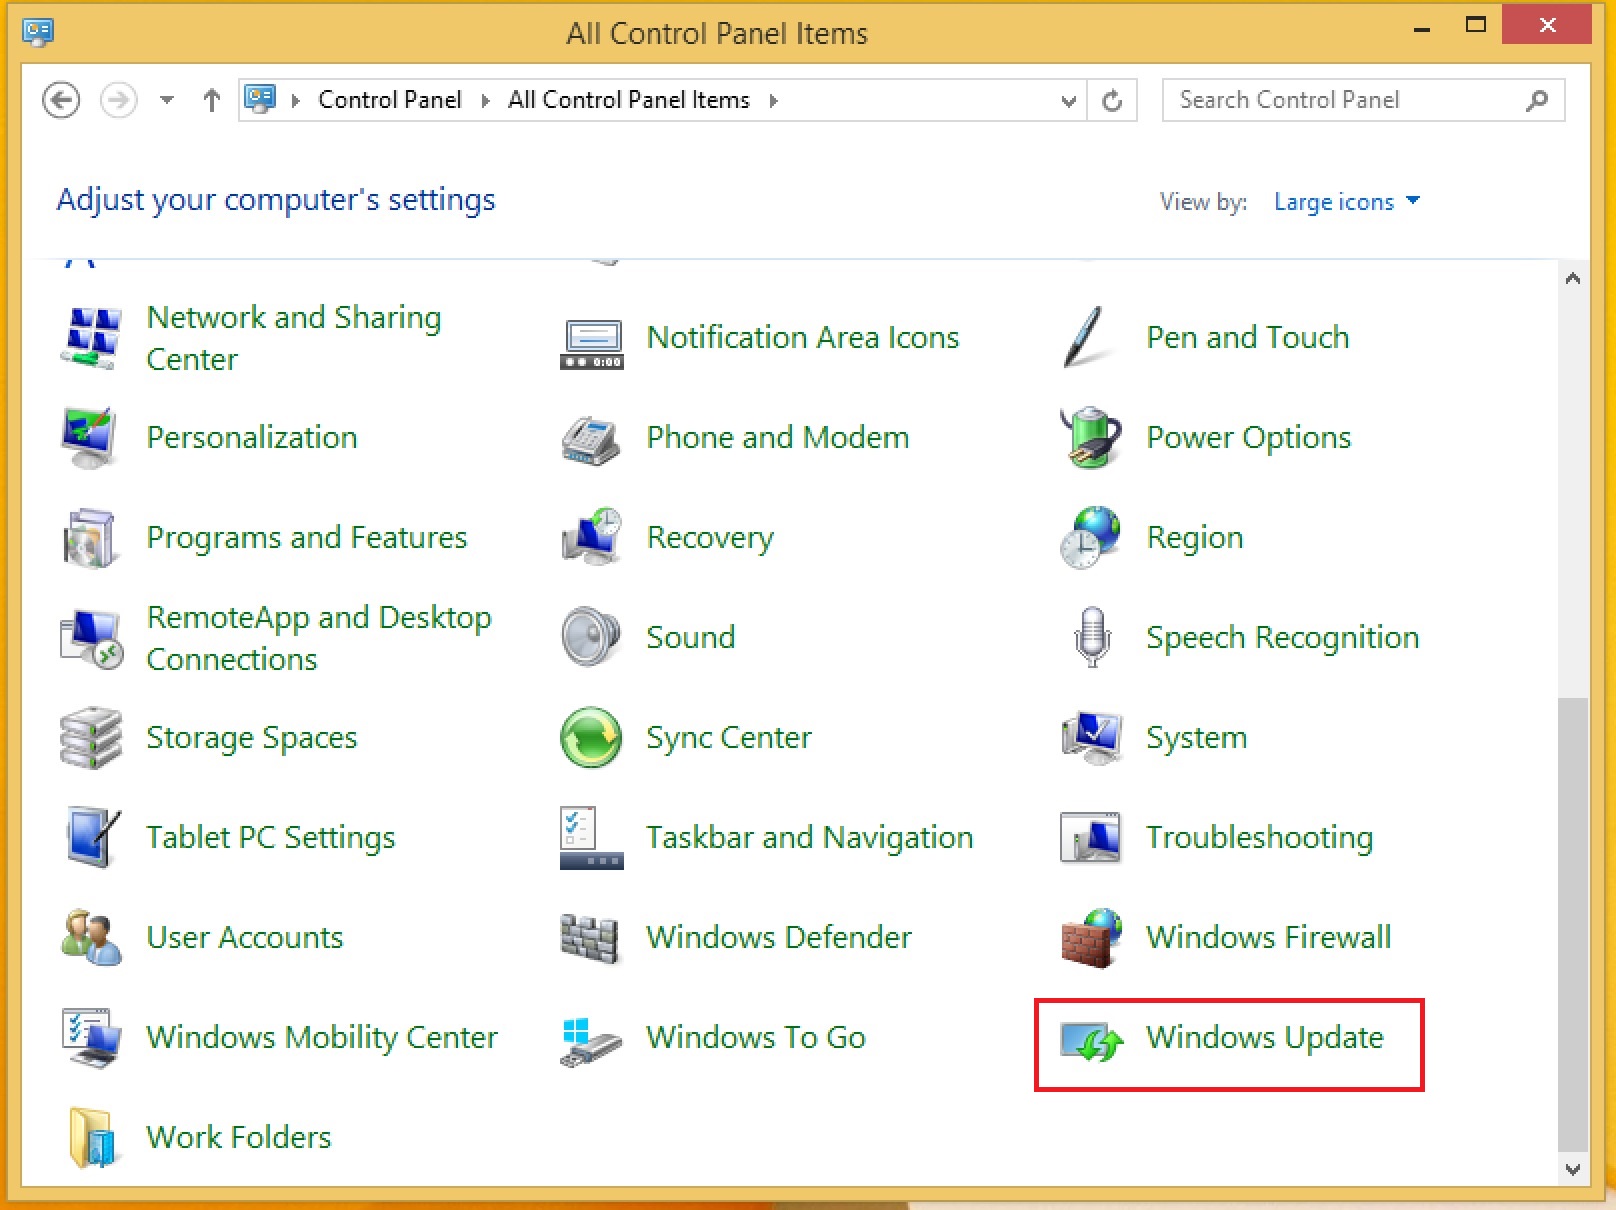
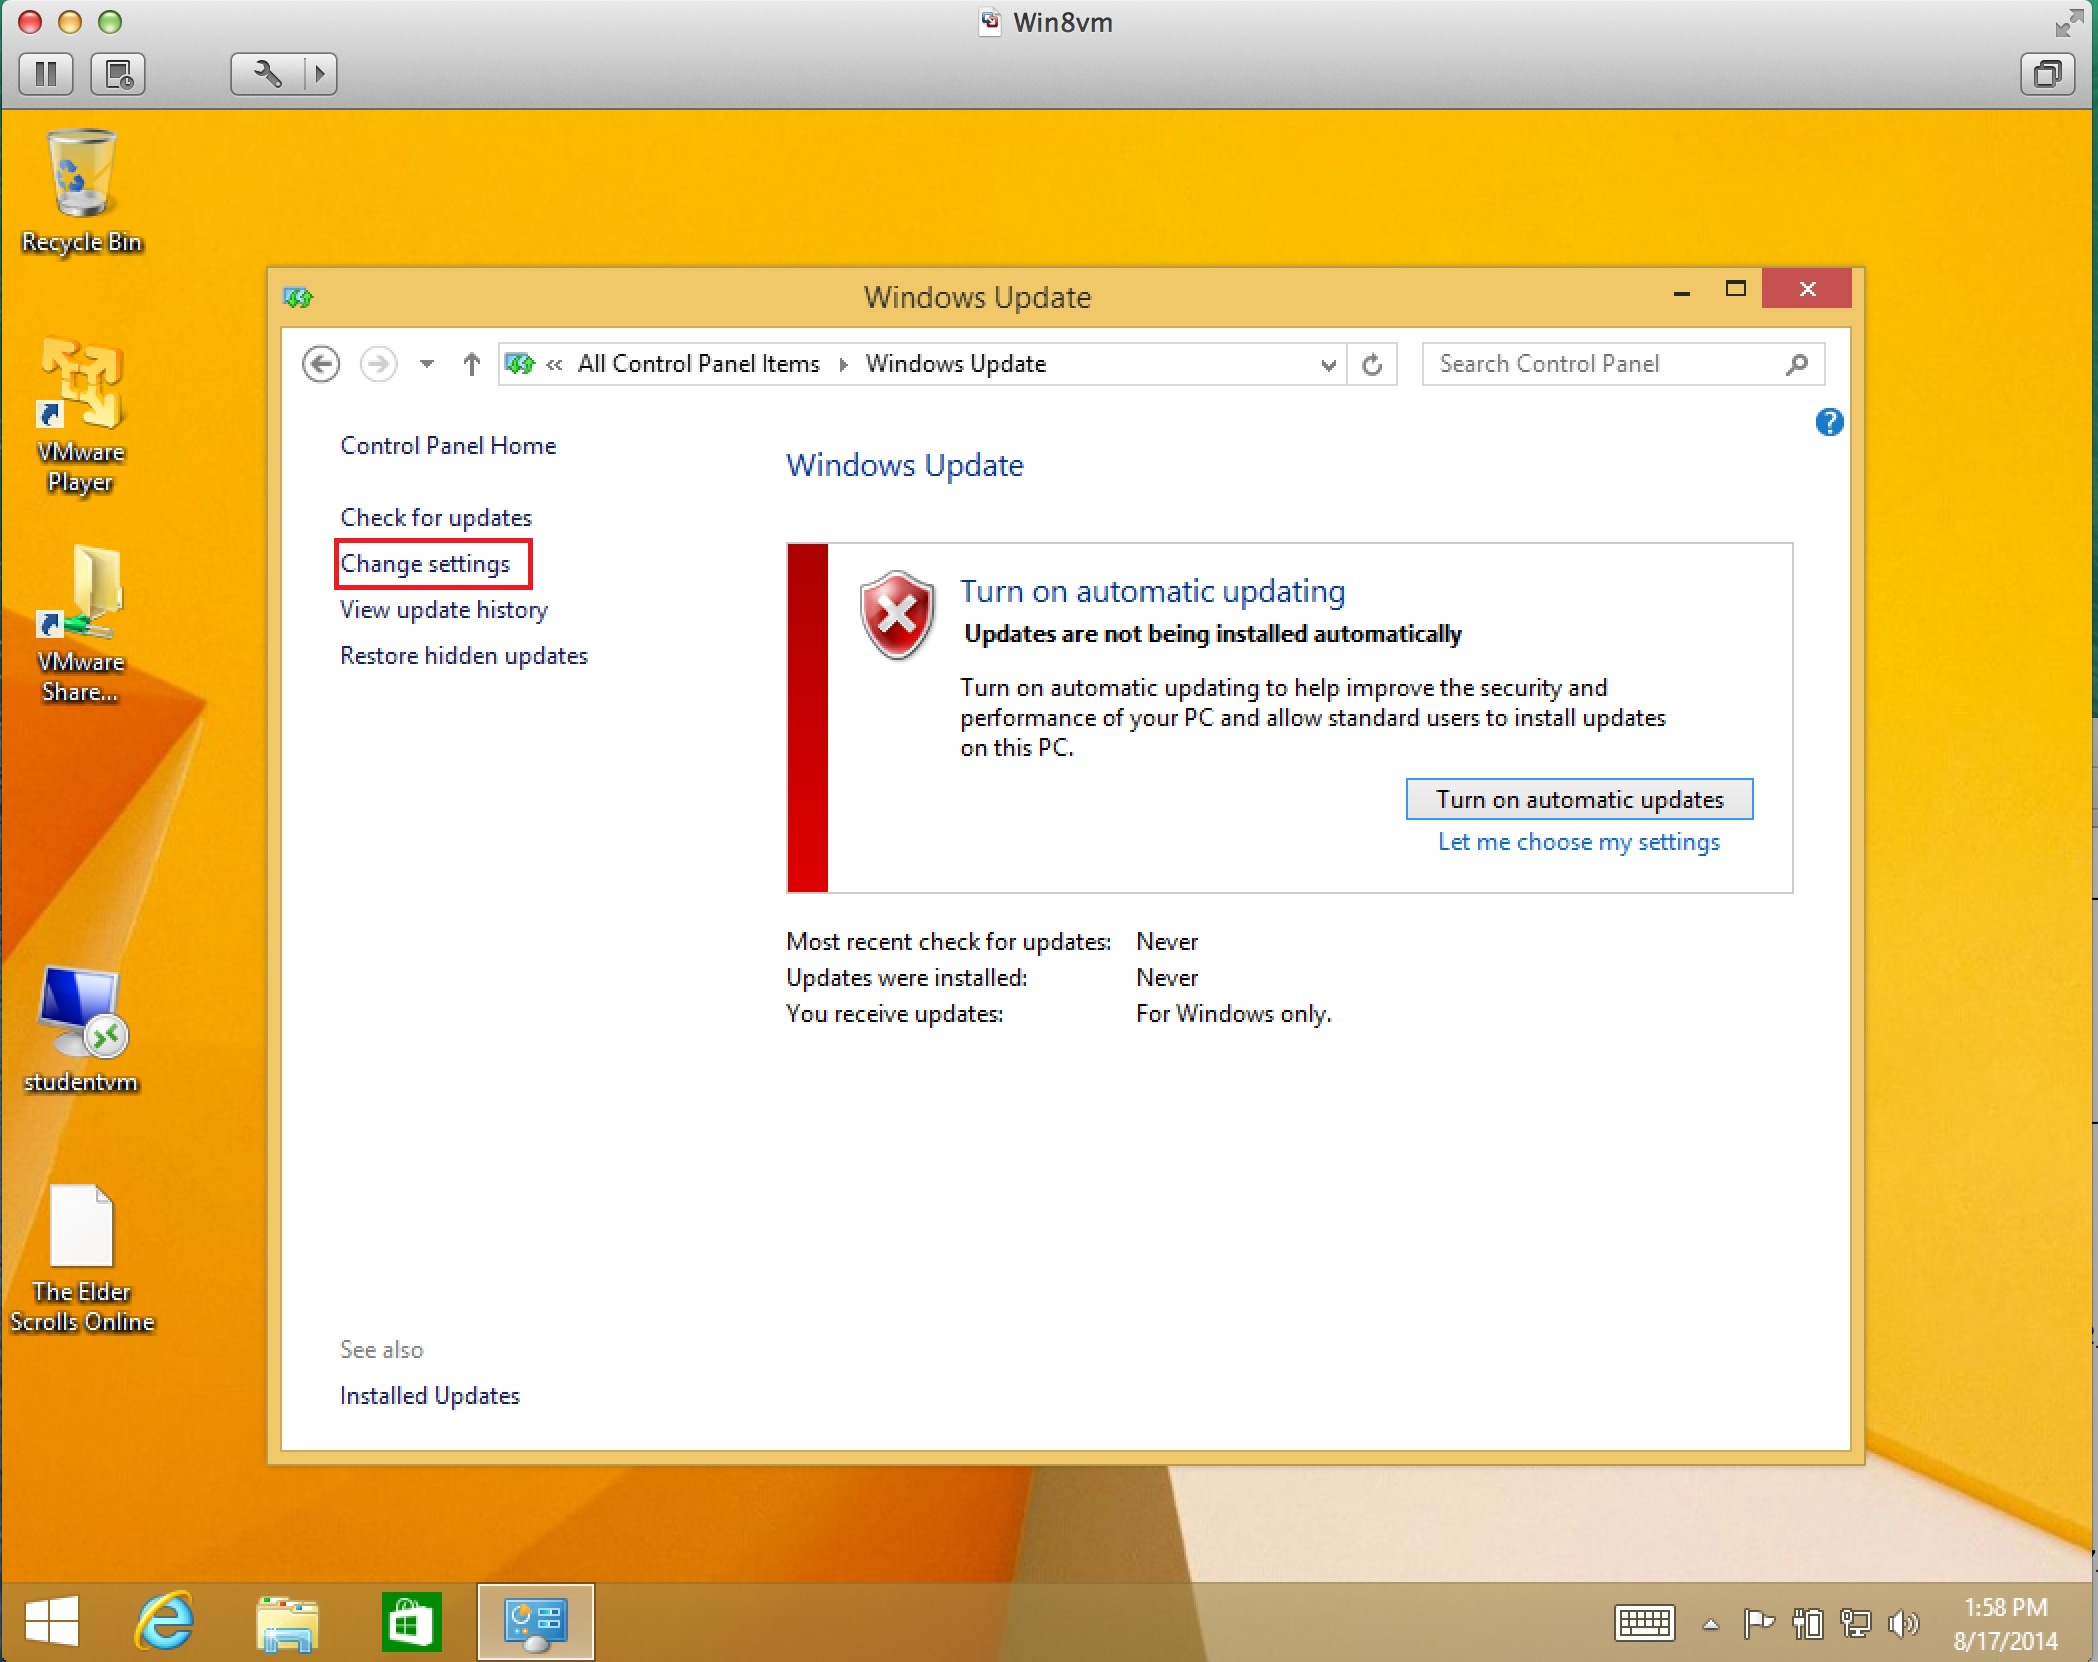
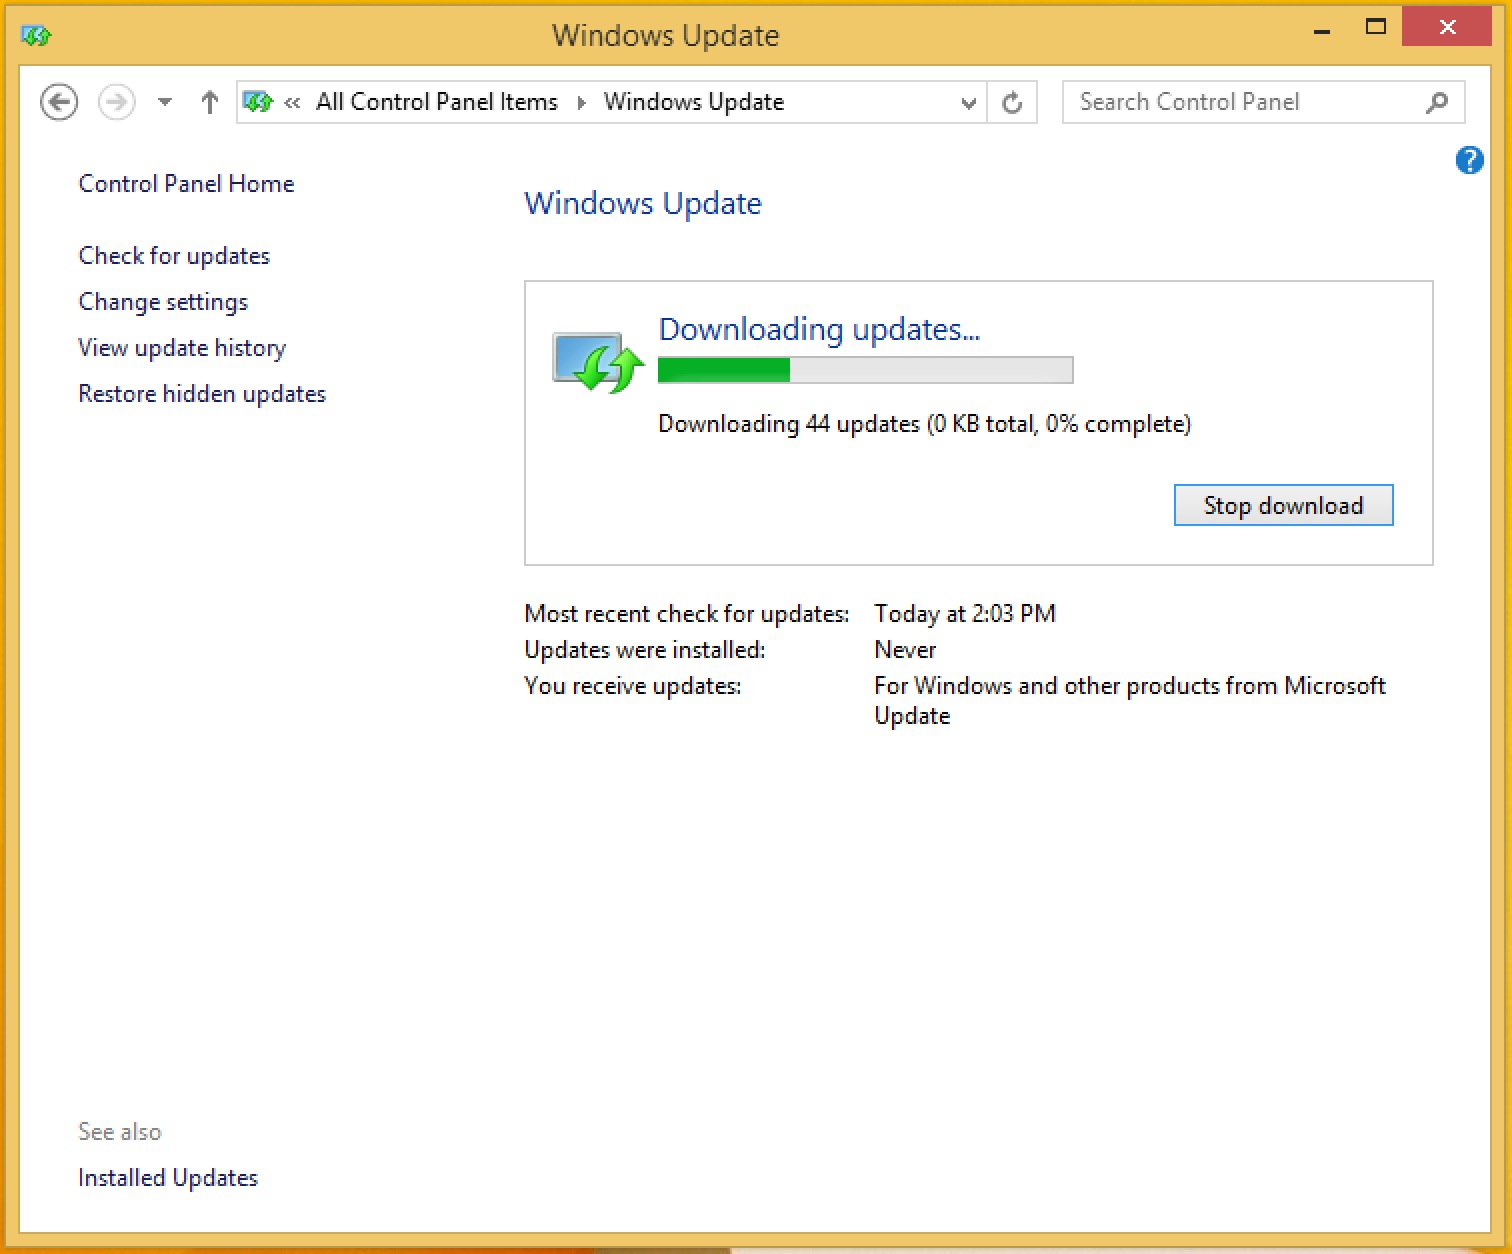
Go to Windows Update
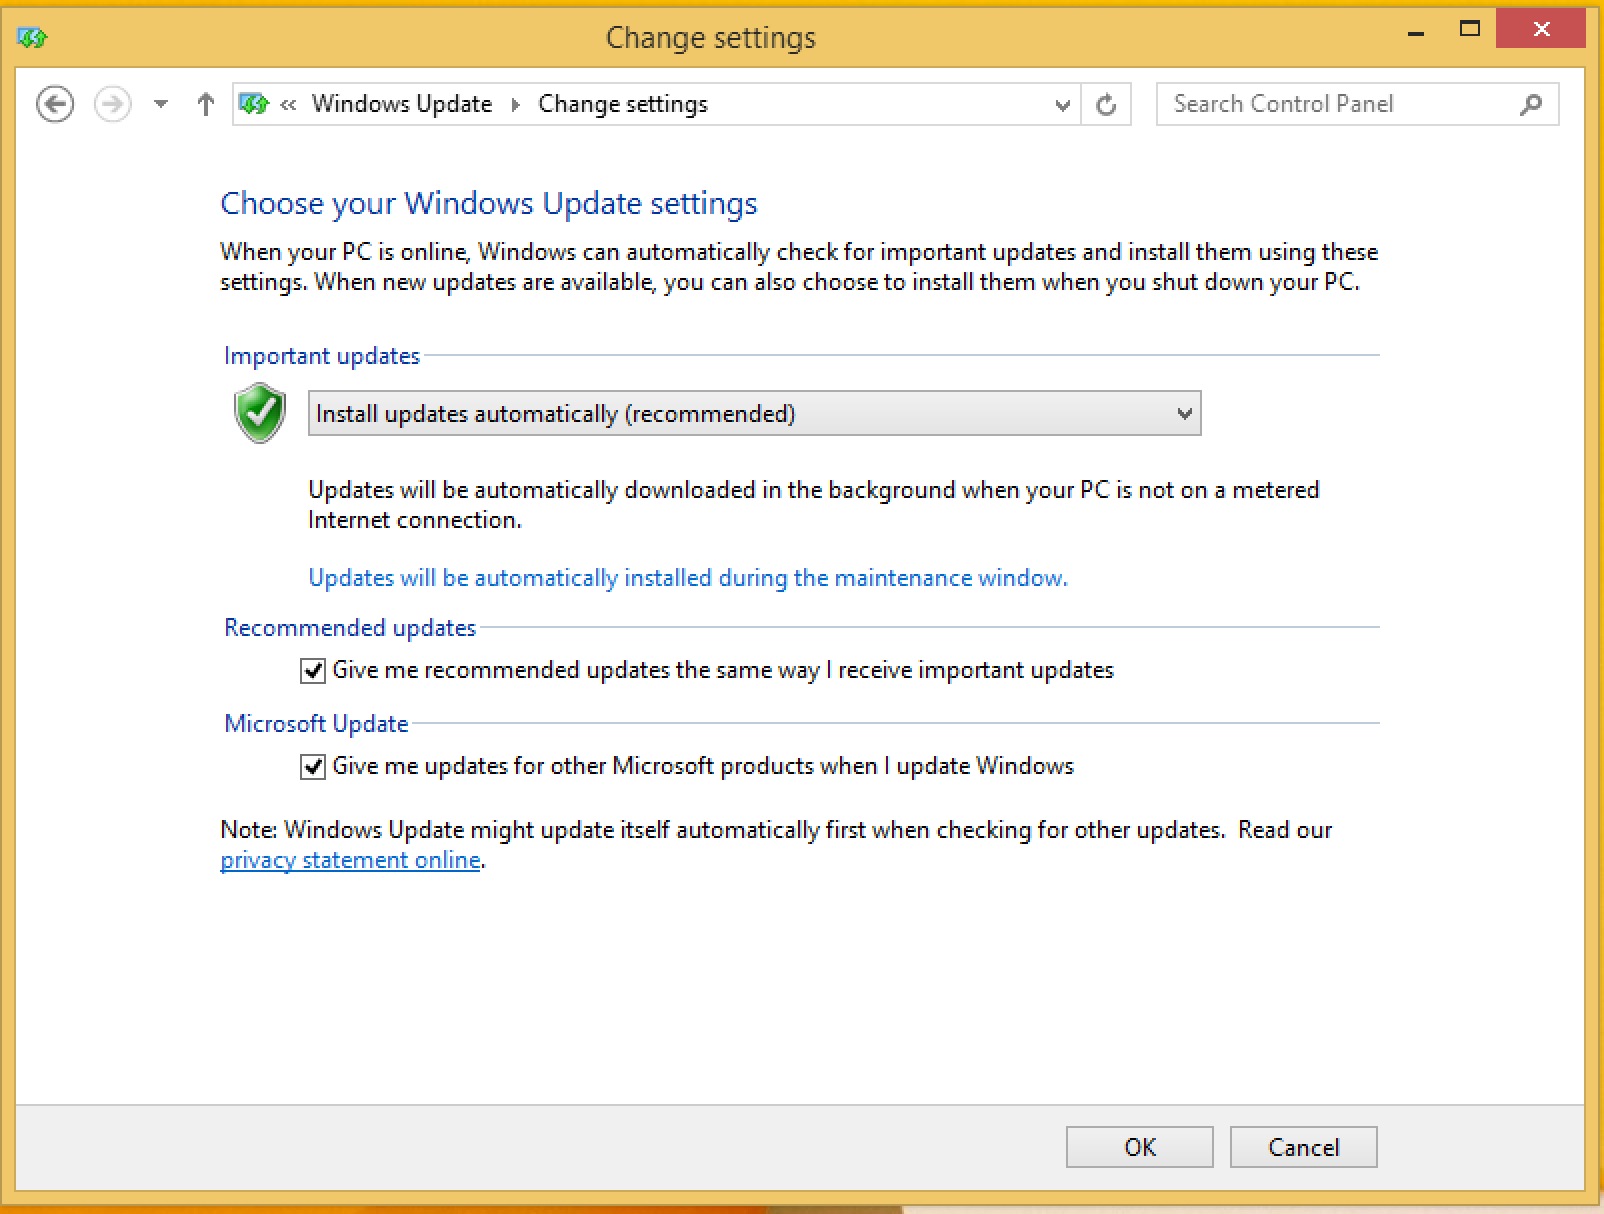
Click the highlighted area to configure updates:
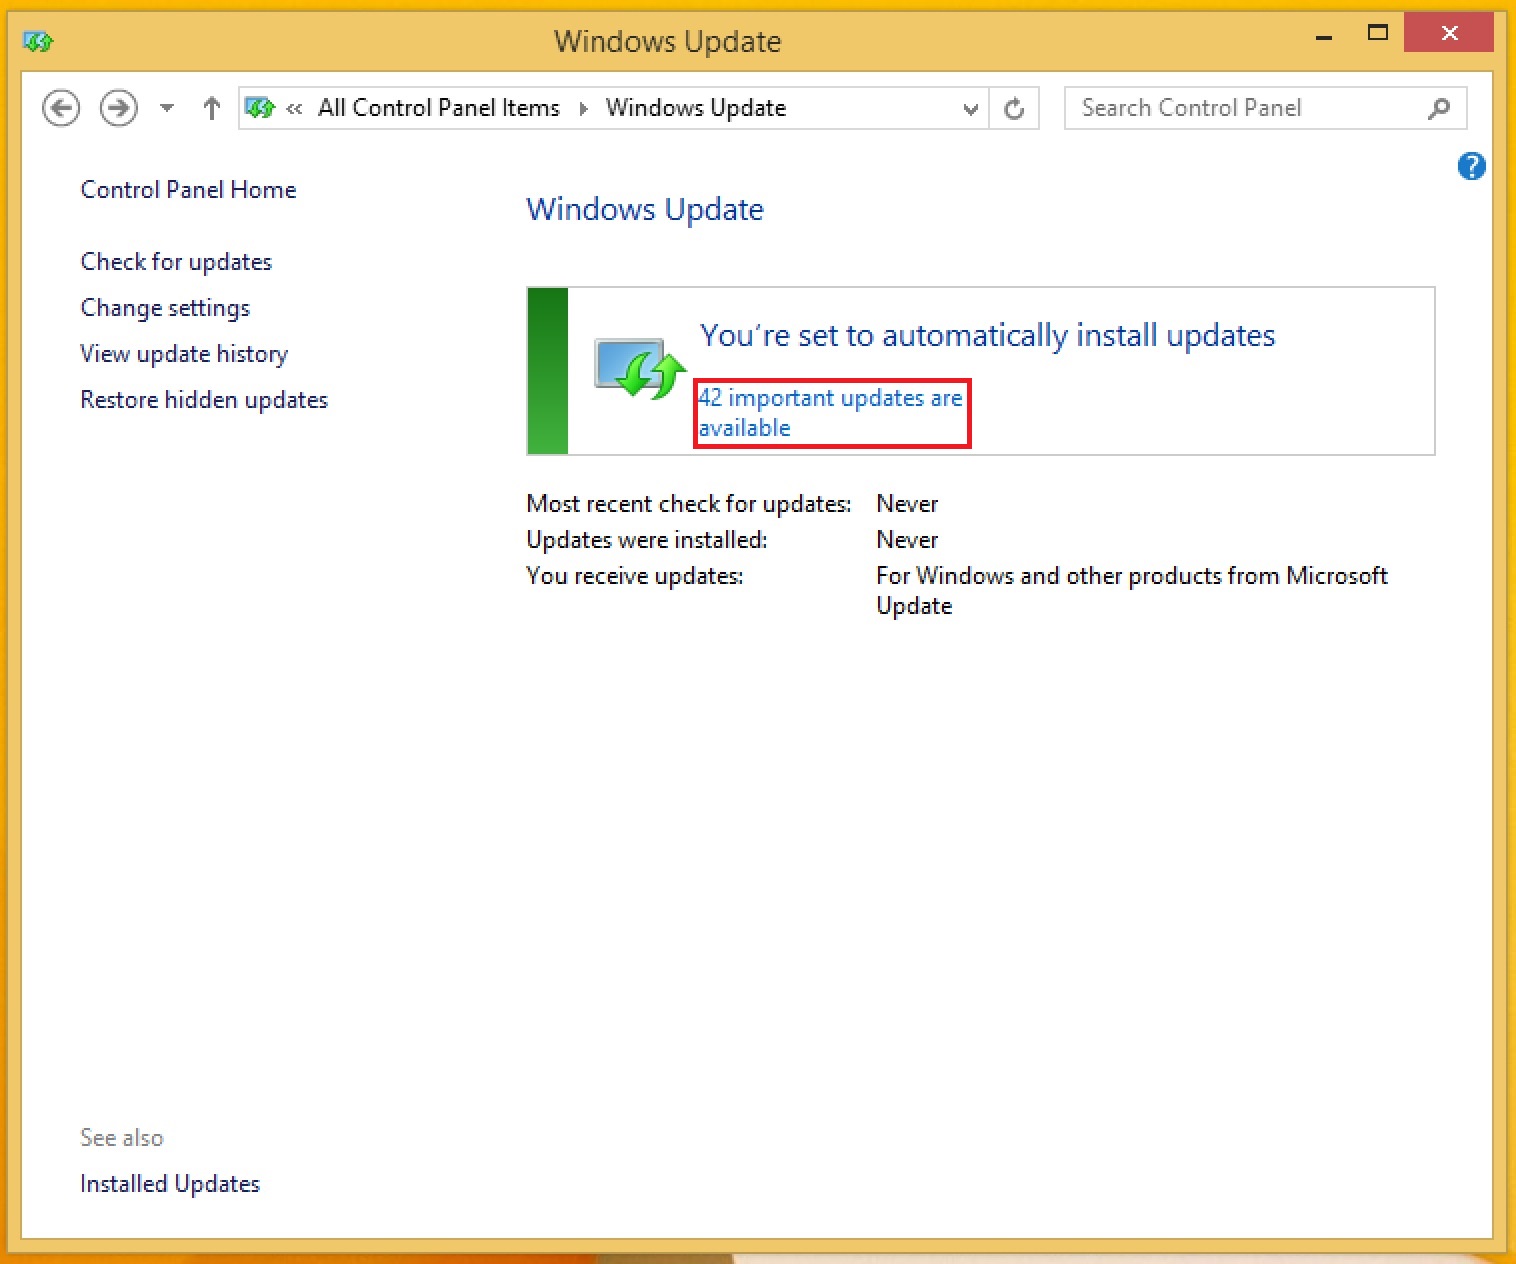
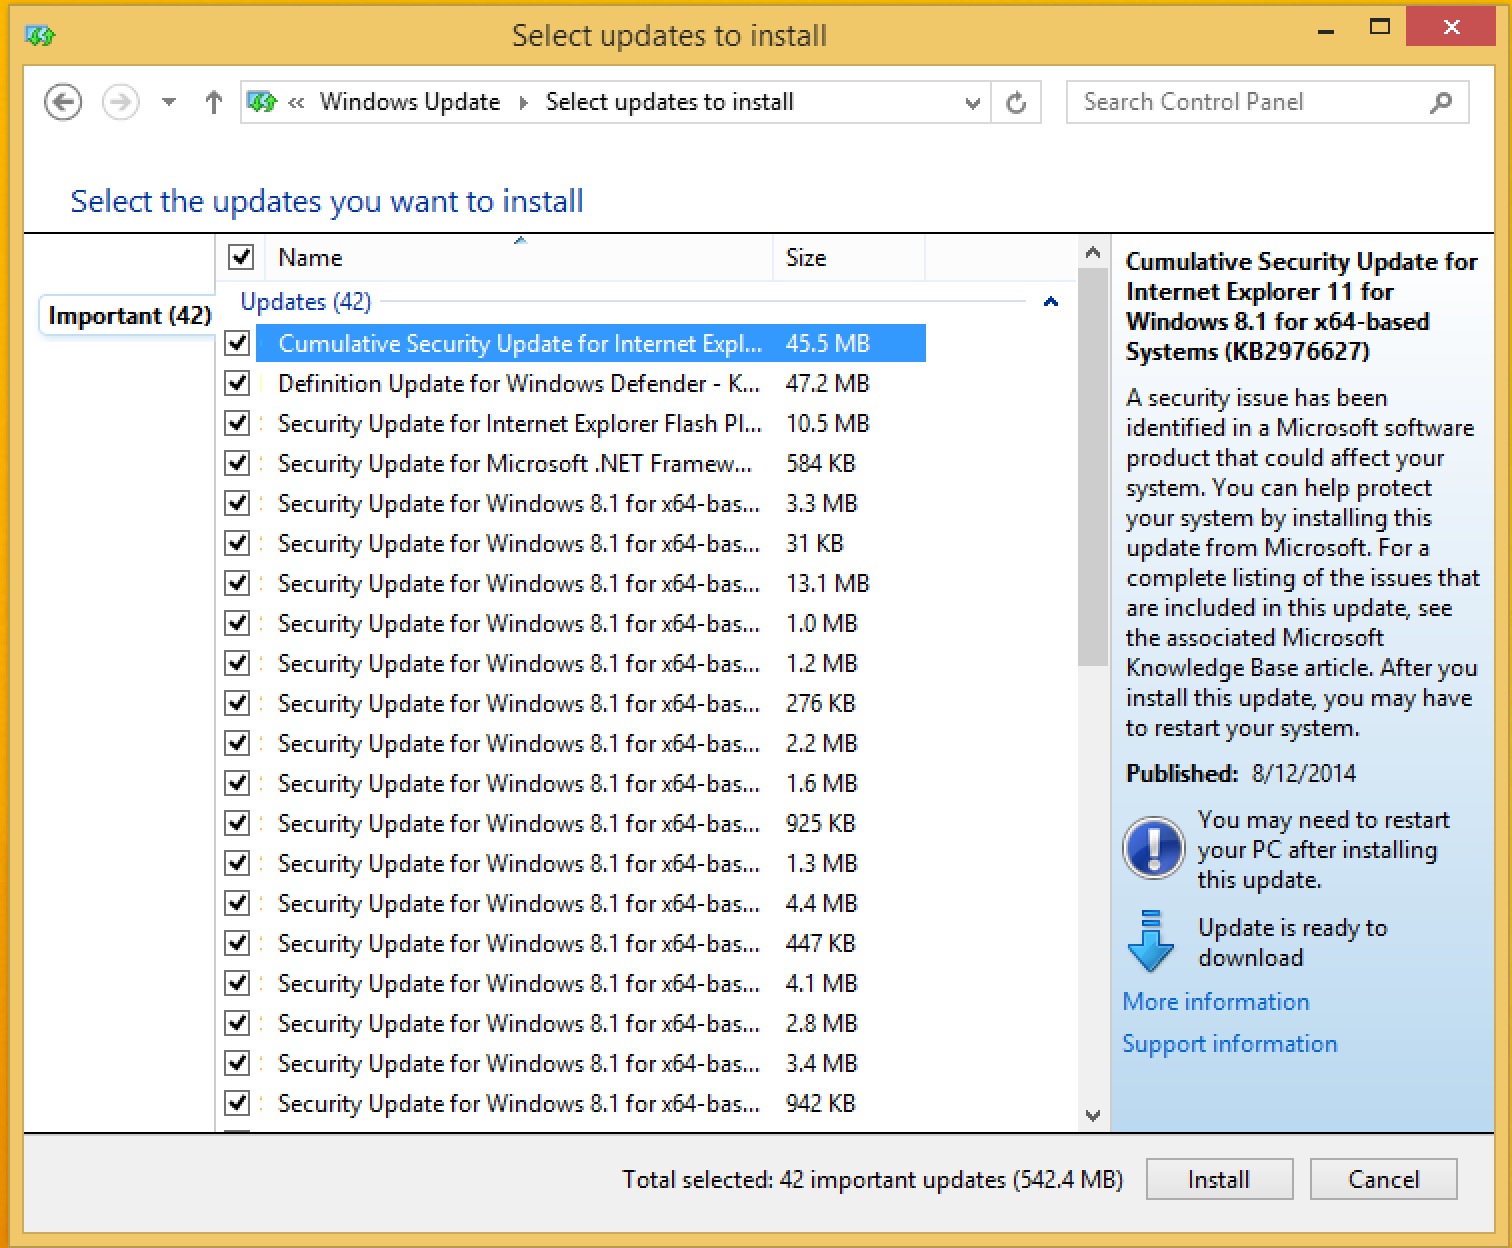
Start the update installation process:
Reboot the VM