Installing a Linux Virtual Machine with VMware
VMware Fusion vs Player vs Workstation
The instructions given here are with VMware Fusion on OSX. The steps are nearly identical for the other two VMware products.
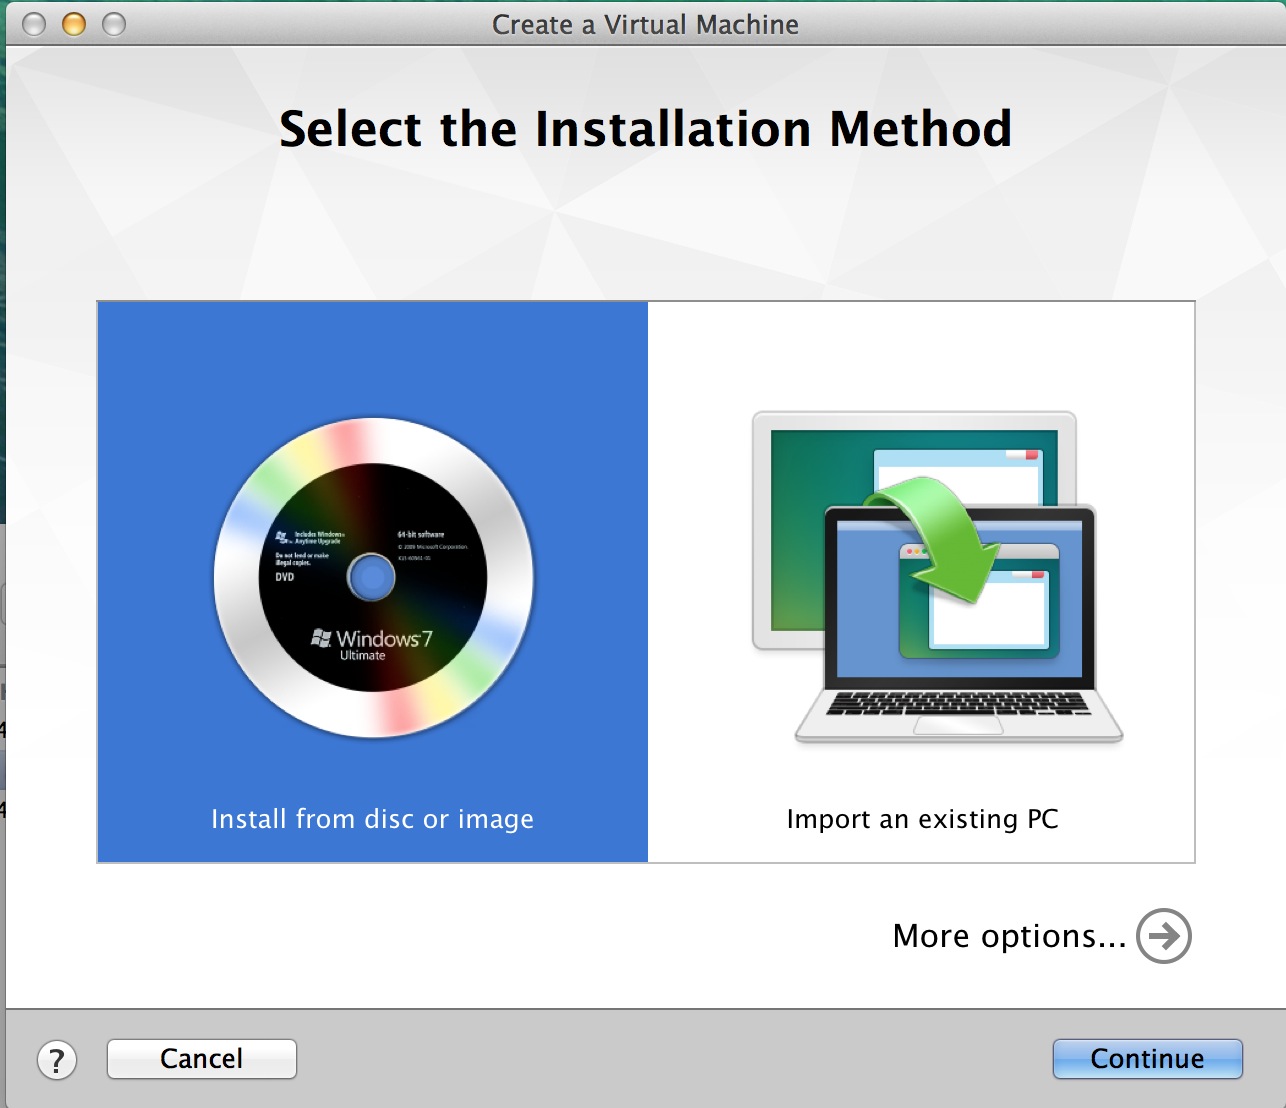
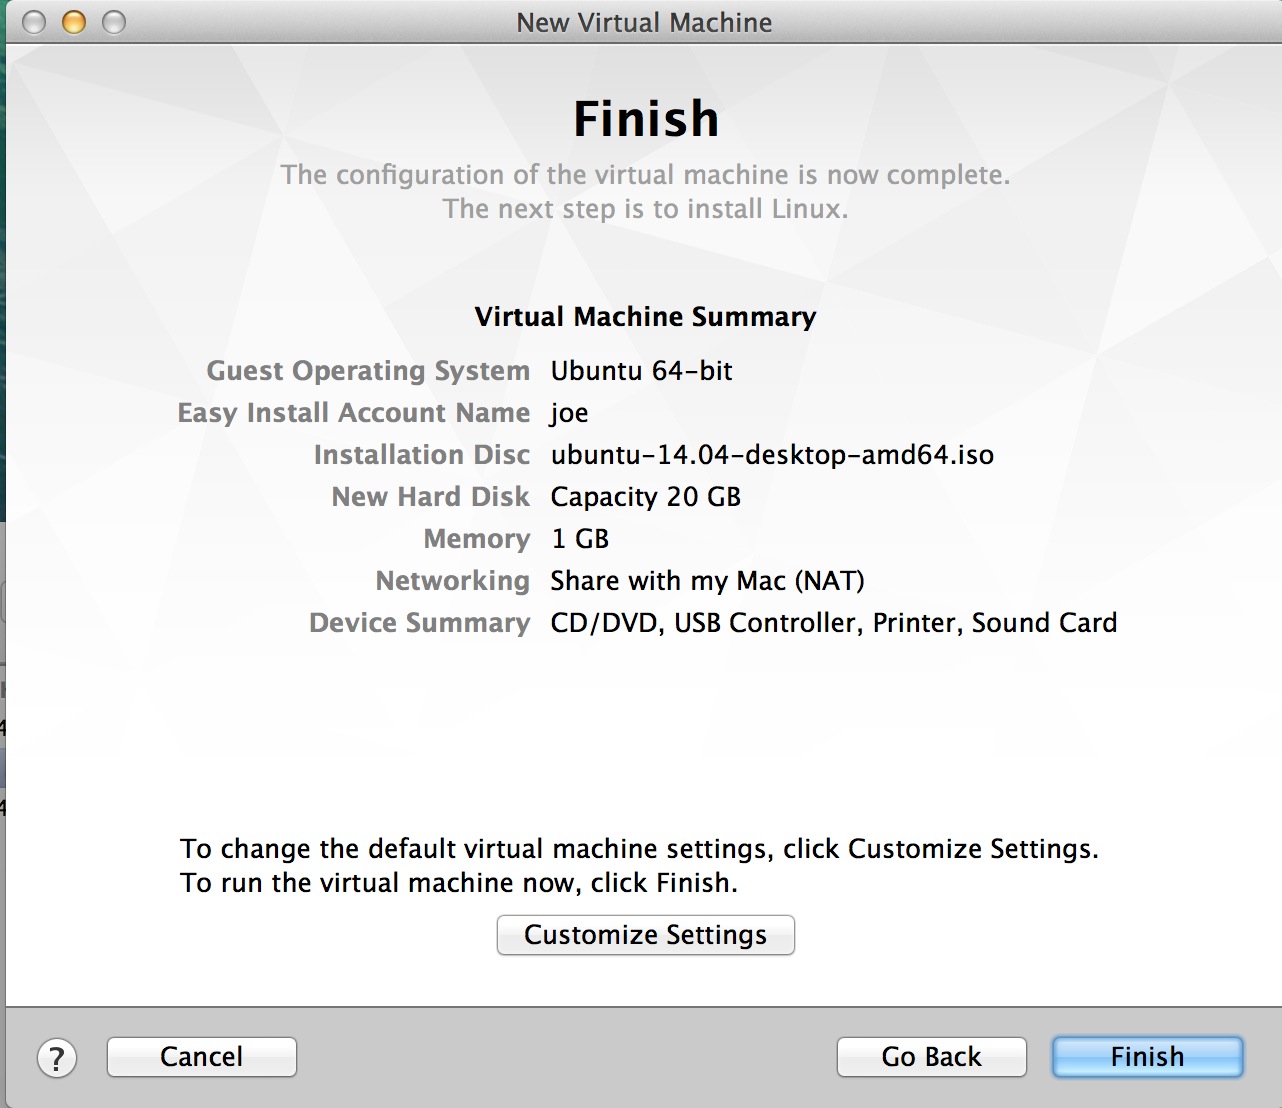
Step 1: Create a VM

Step 2: Create the VM with an installer disk
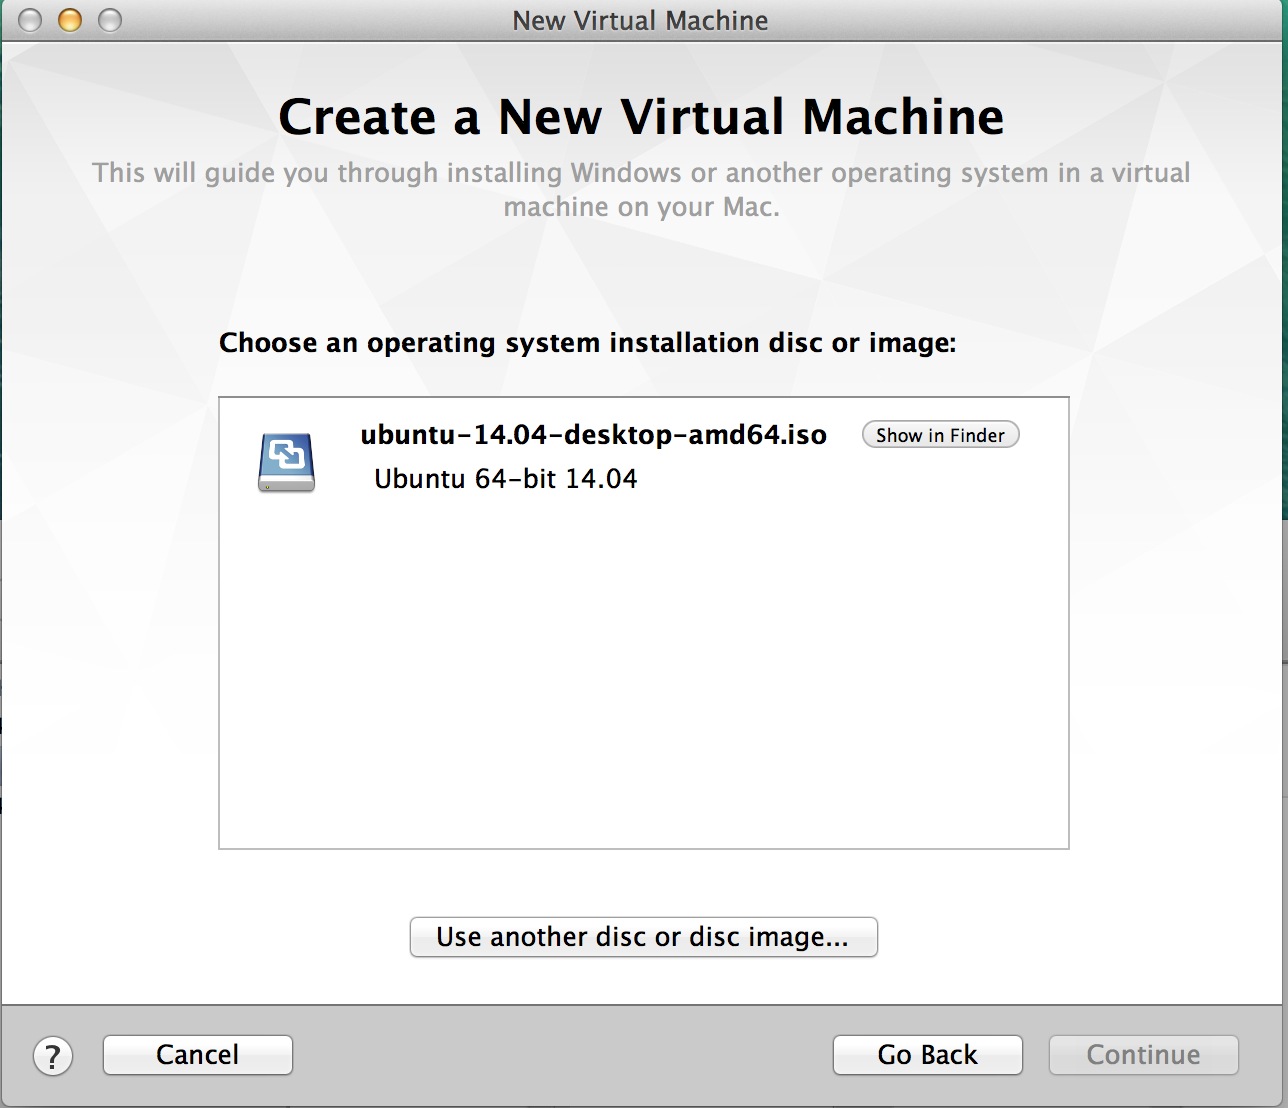
Step 3: Locate the ISO file
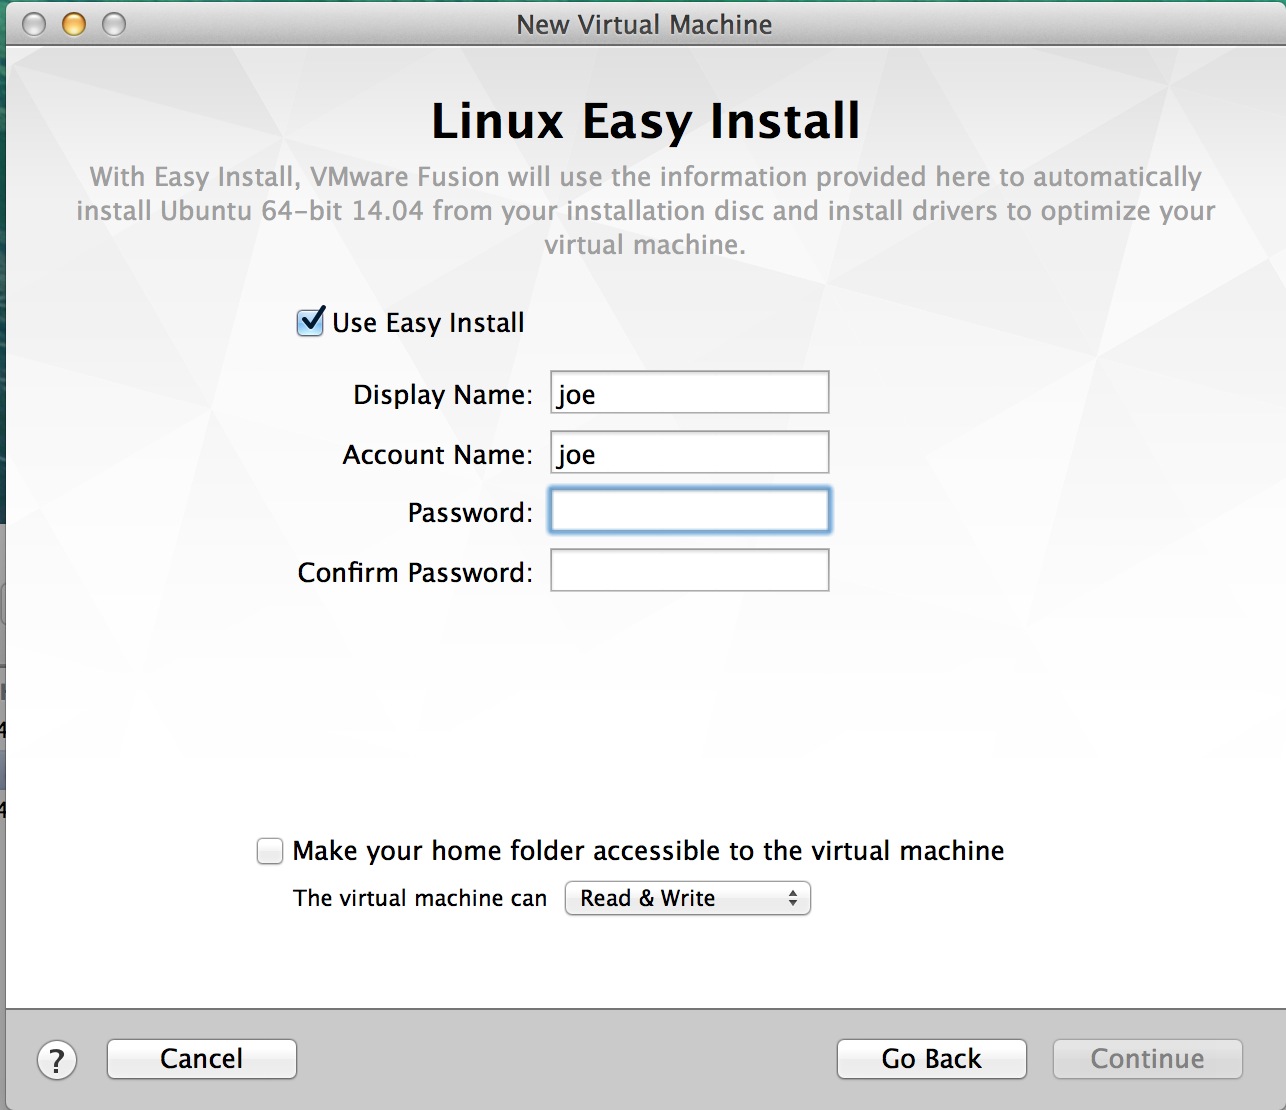
Step 4: Fill out Easy-Install details
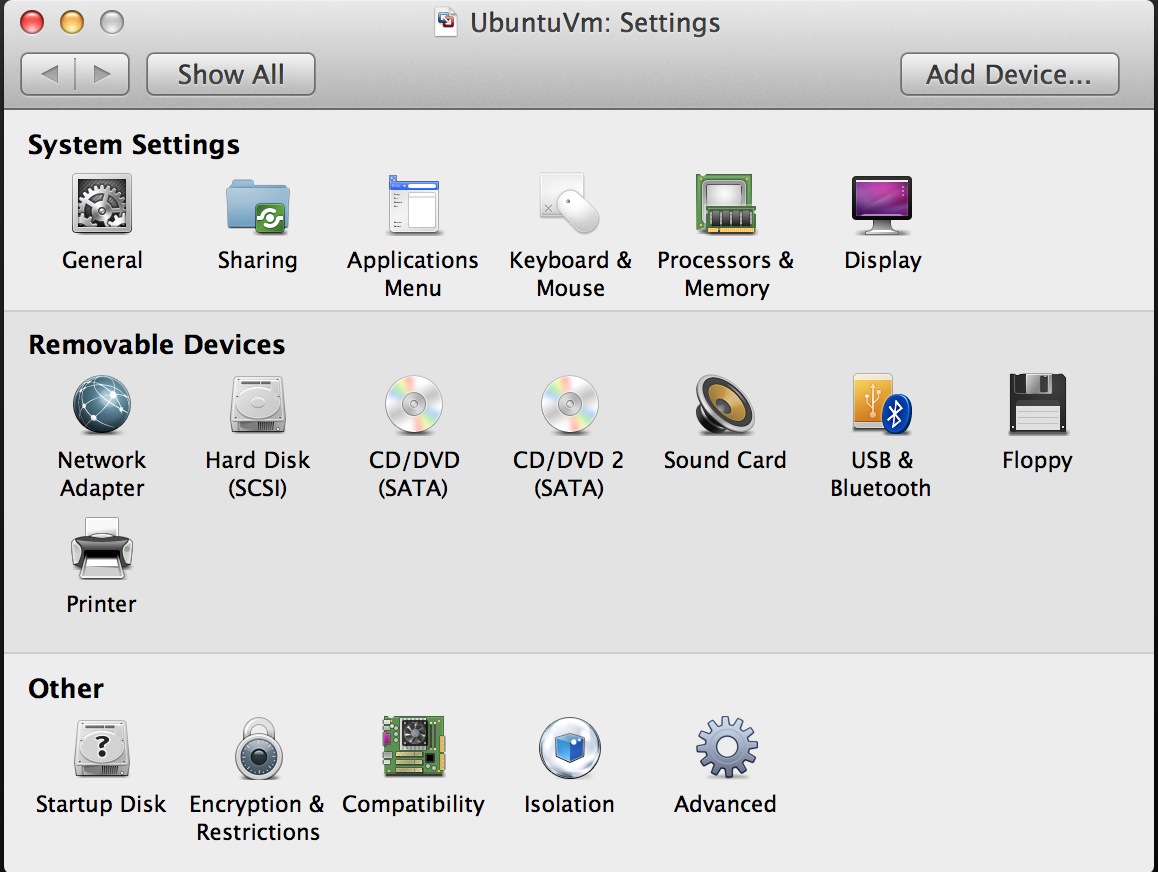
Step 5: Customize settings
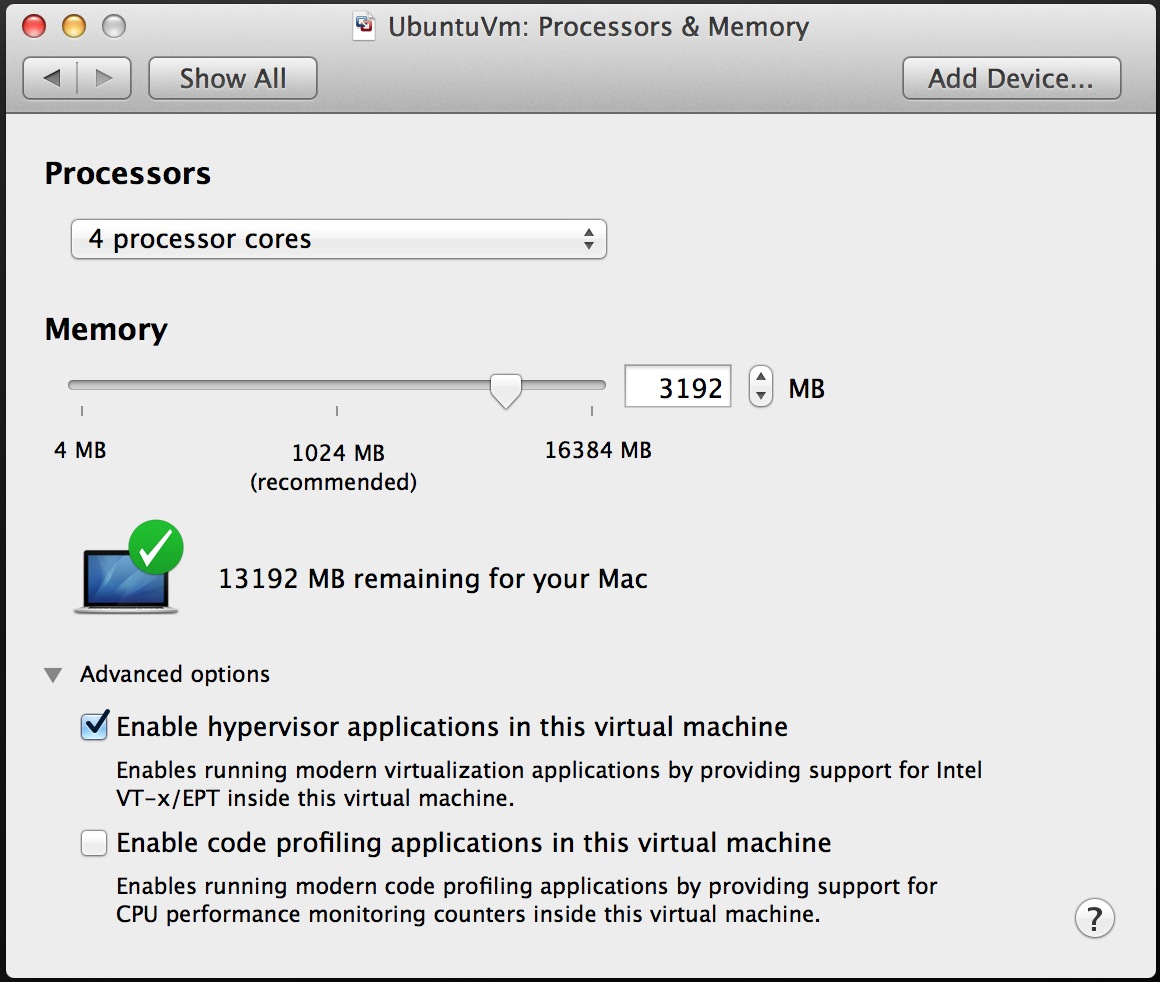
Step 6: Processors and memory
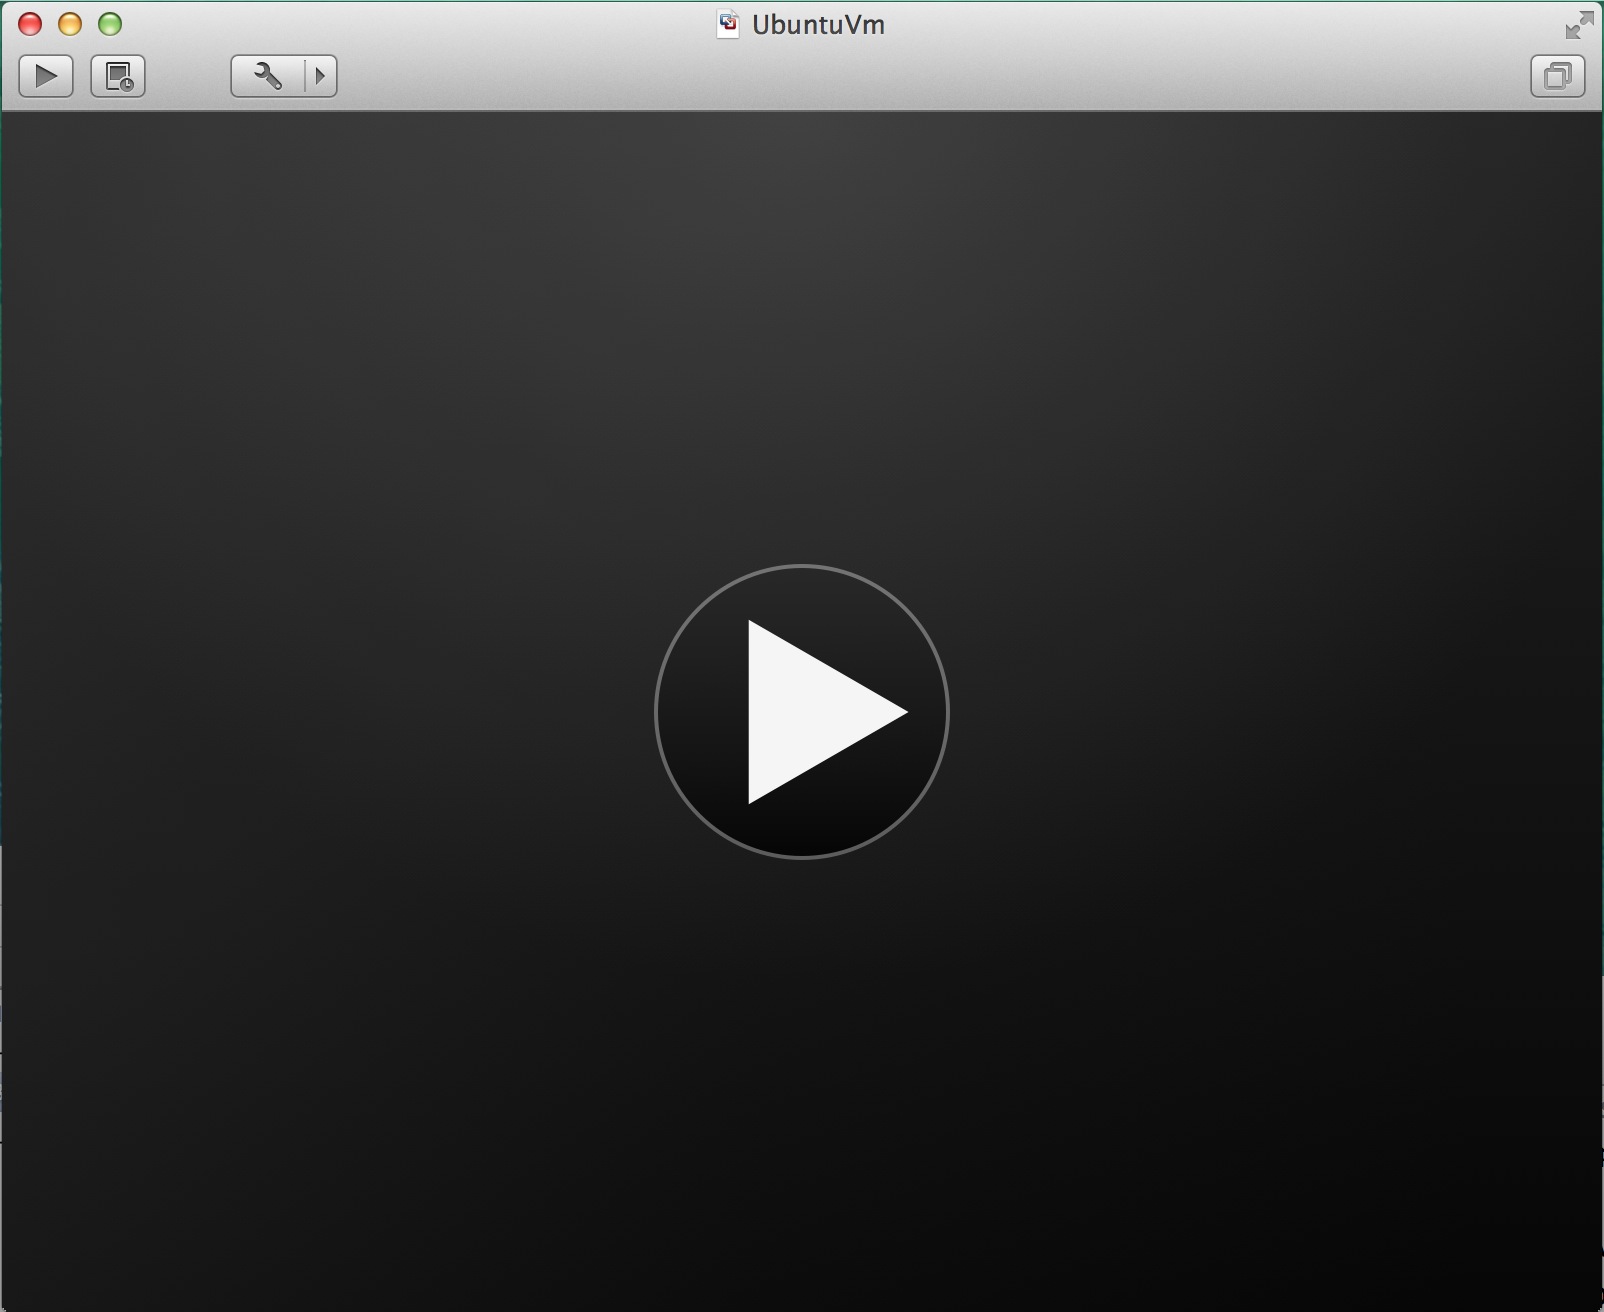
Step 7: Start the VM
Step 8: Wait for Easy-Install to complete

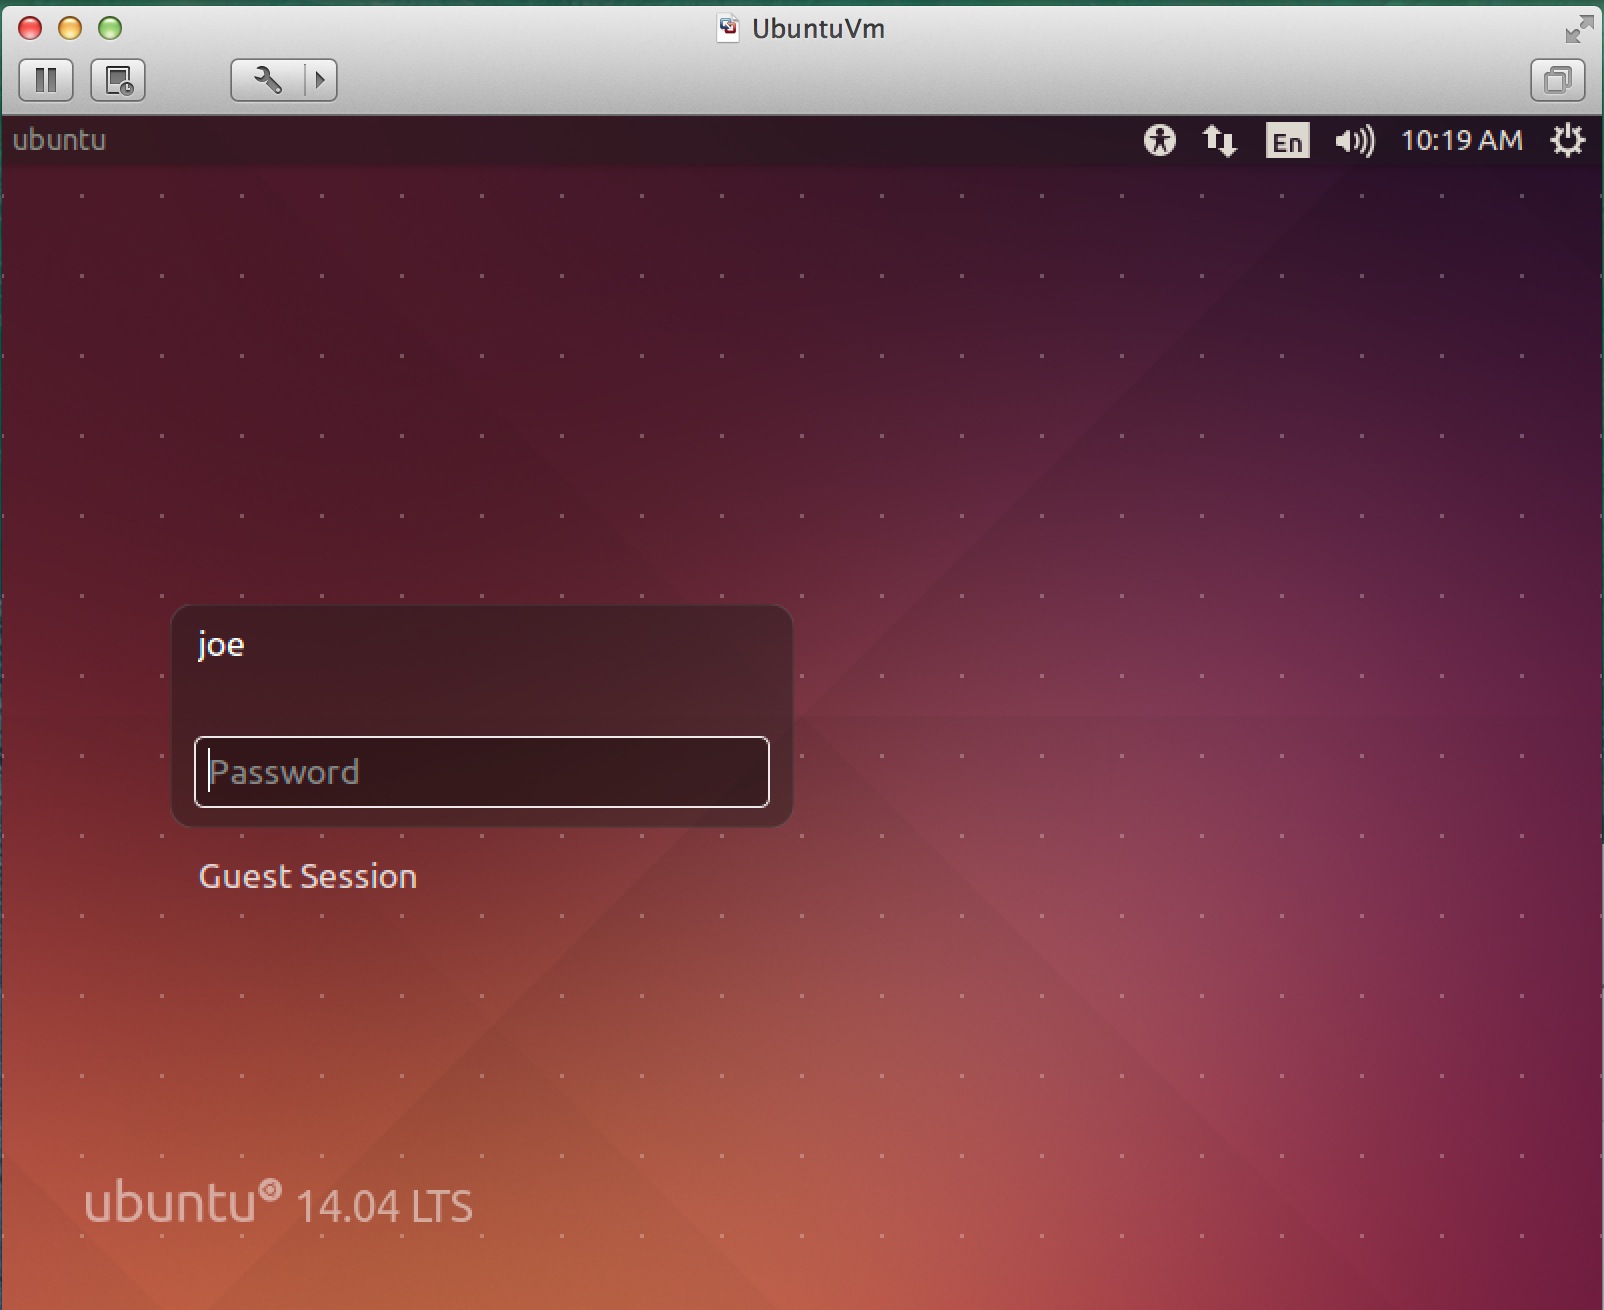
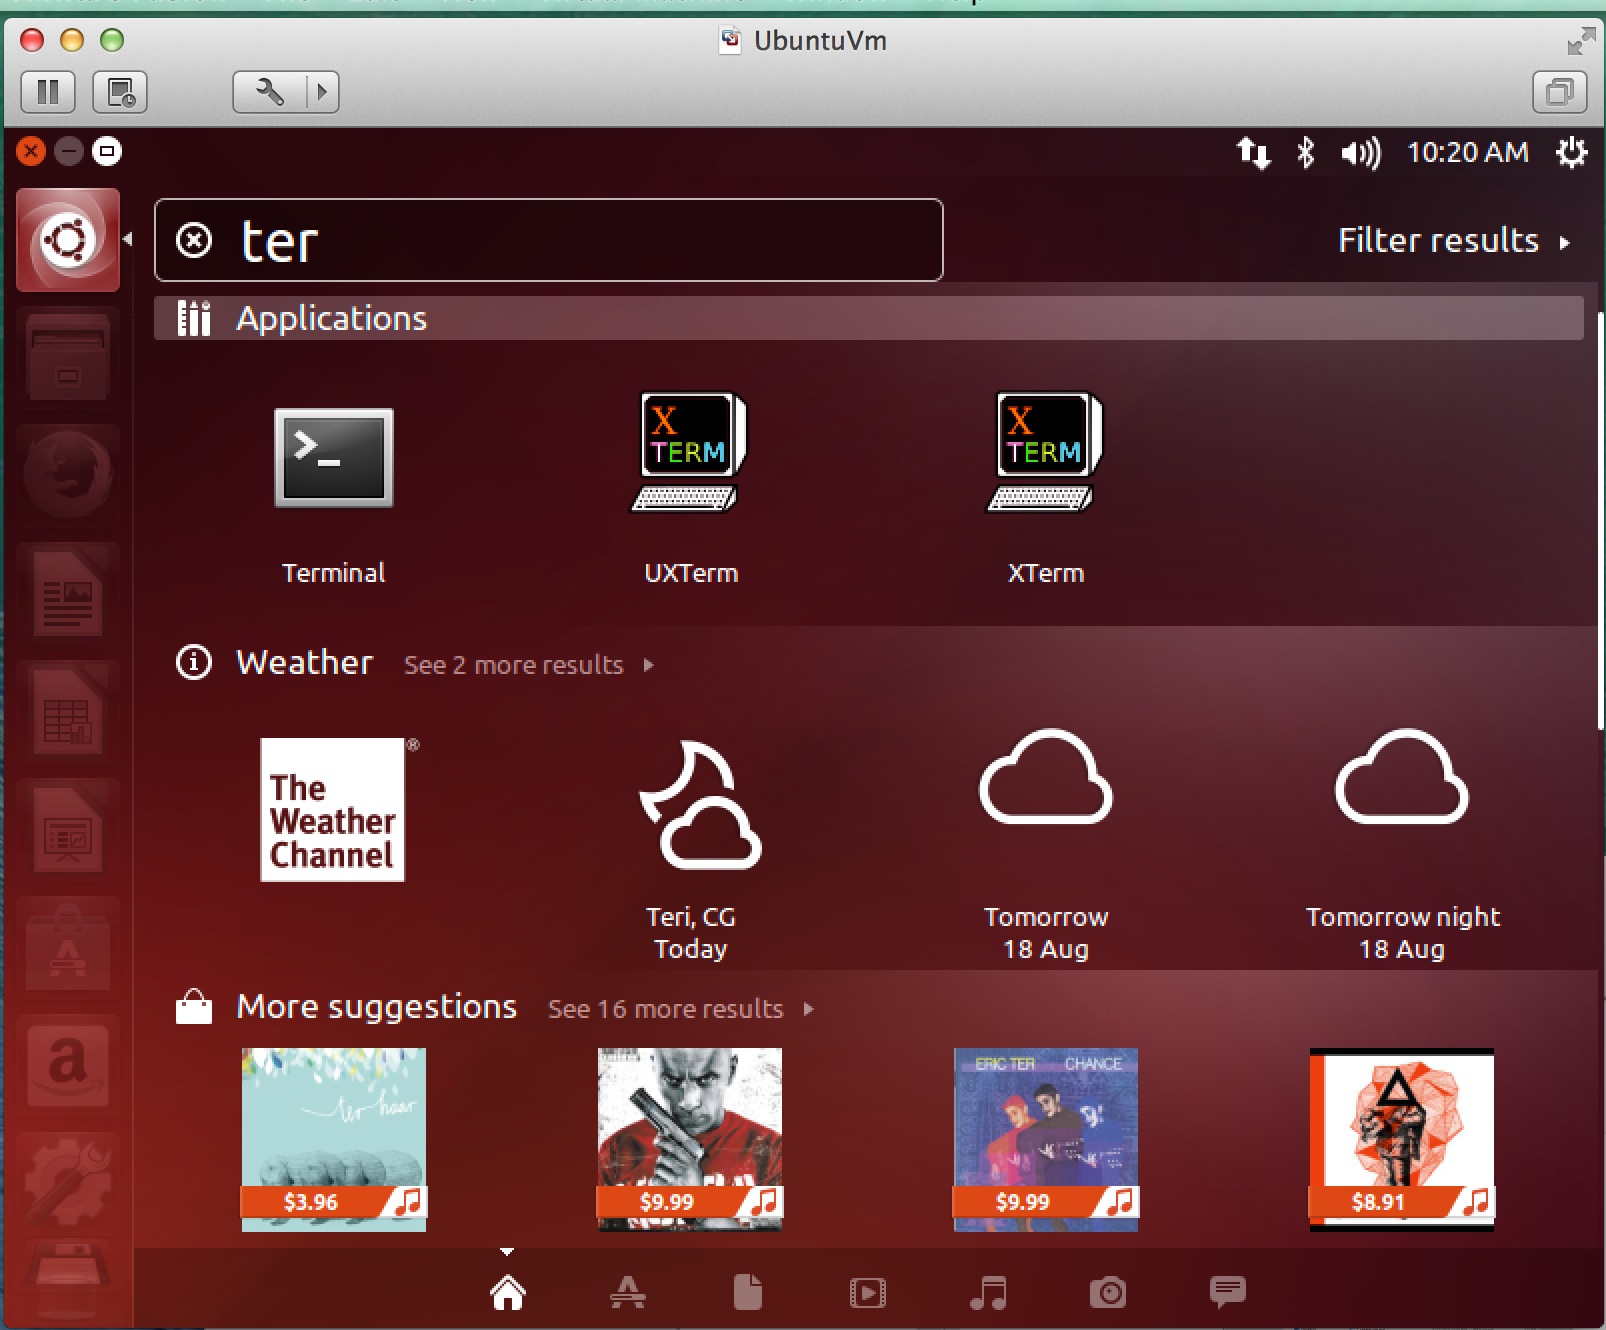
Step 9: Log into the new VM and Launch a terminal
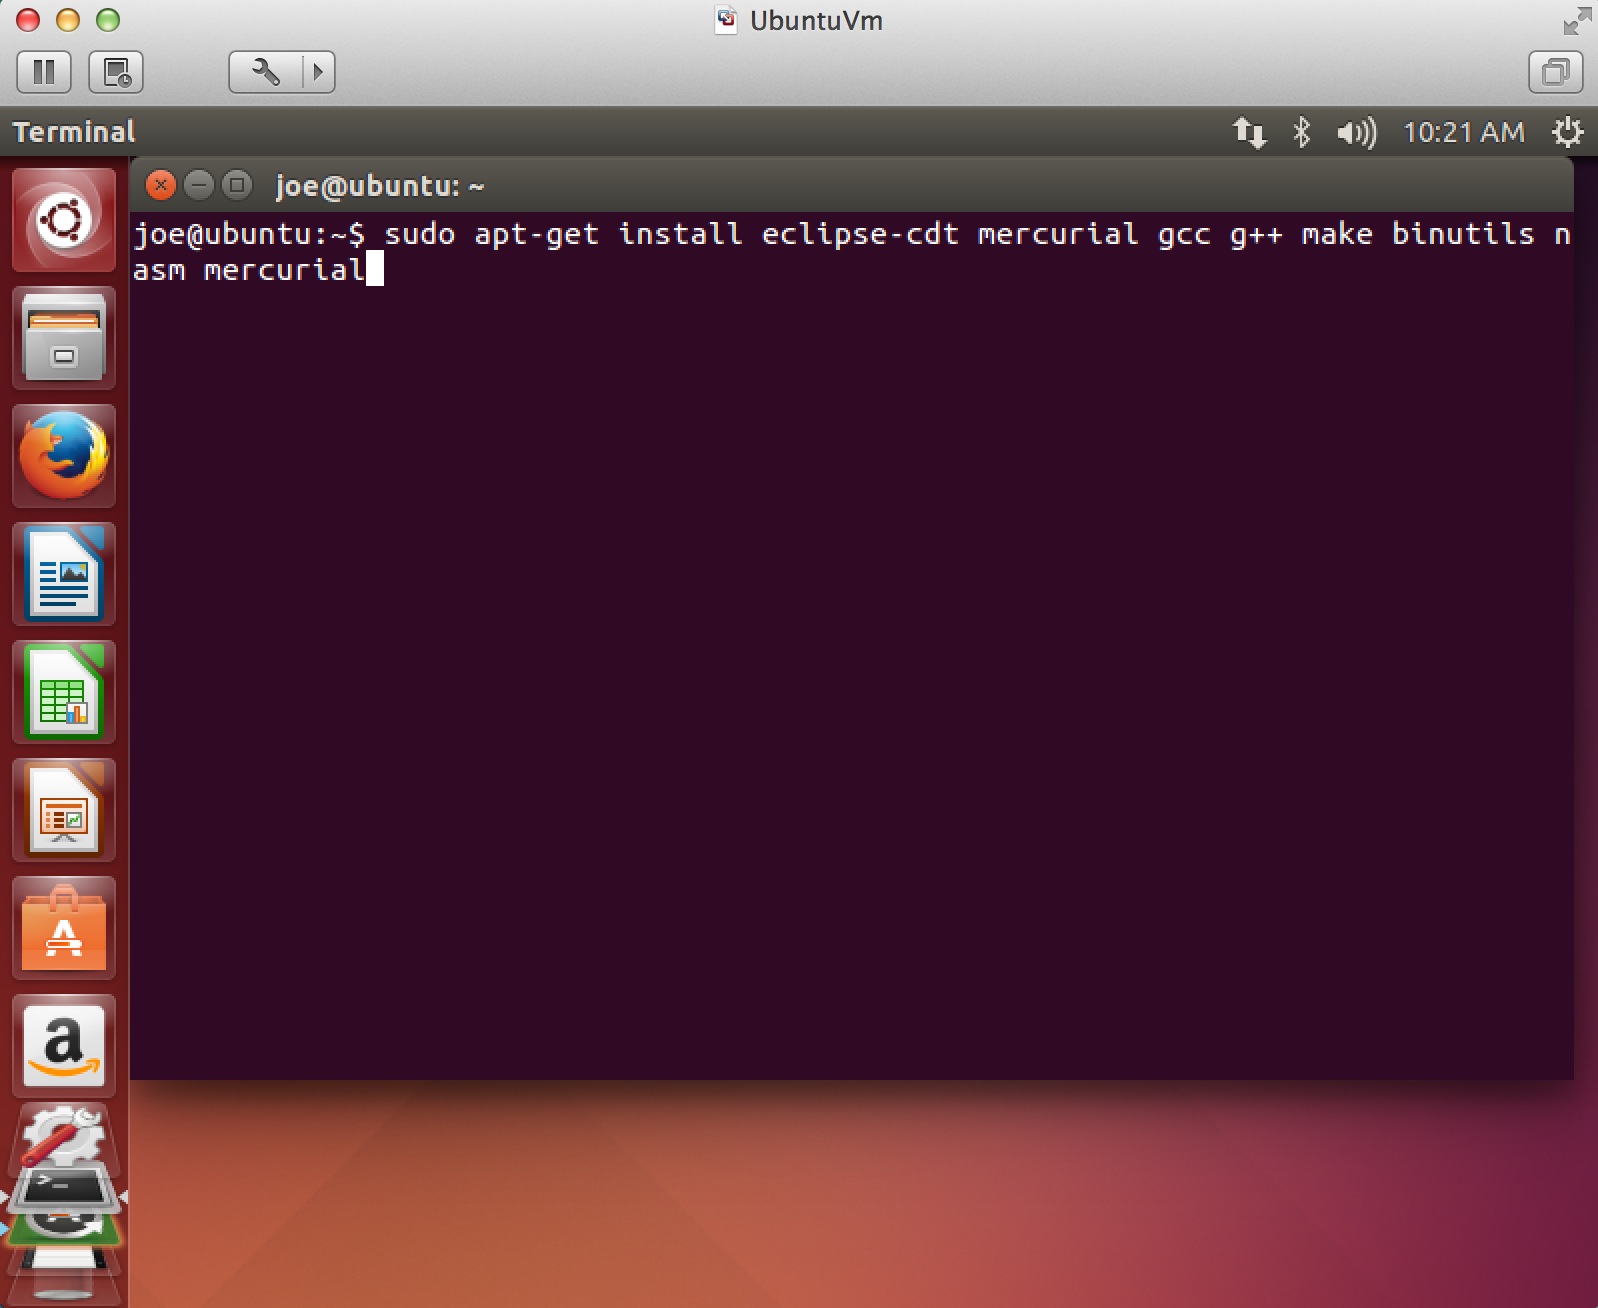
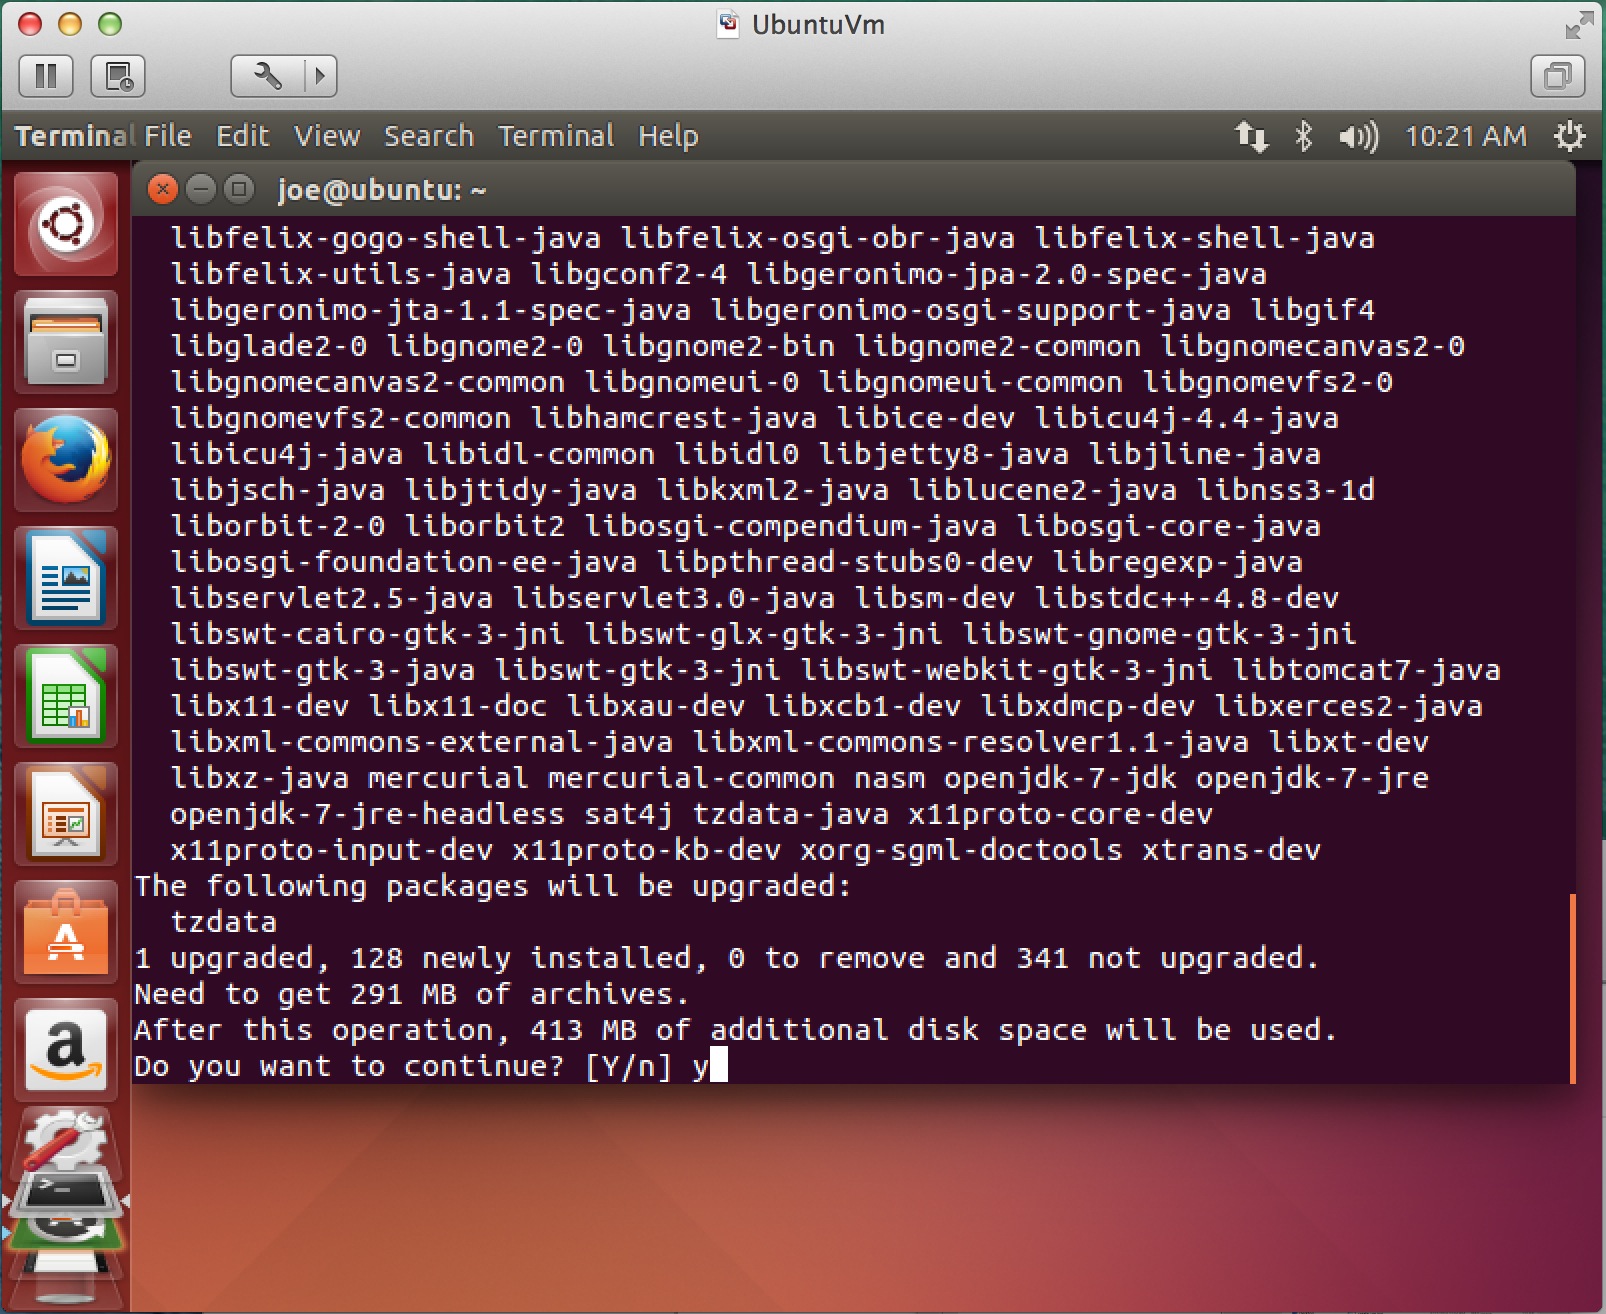
Step 10: Install course software
Note
These screen shots were prepared awhile ago. Please use apt-get install build-essential. This is a metapackage that gives you everything needed for our class. You may also want to include cmake, which will be used in some of my examples.
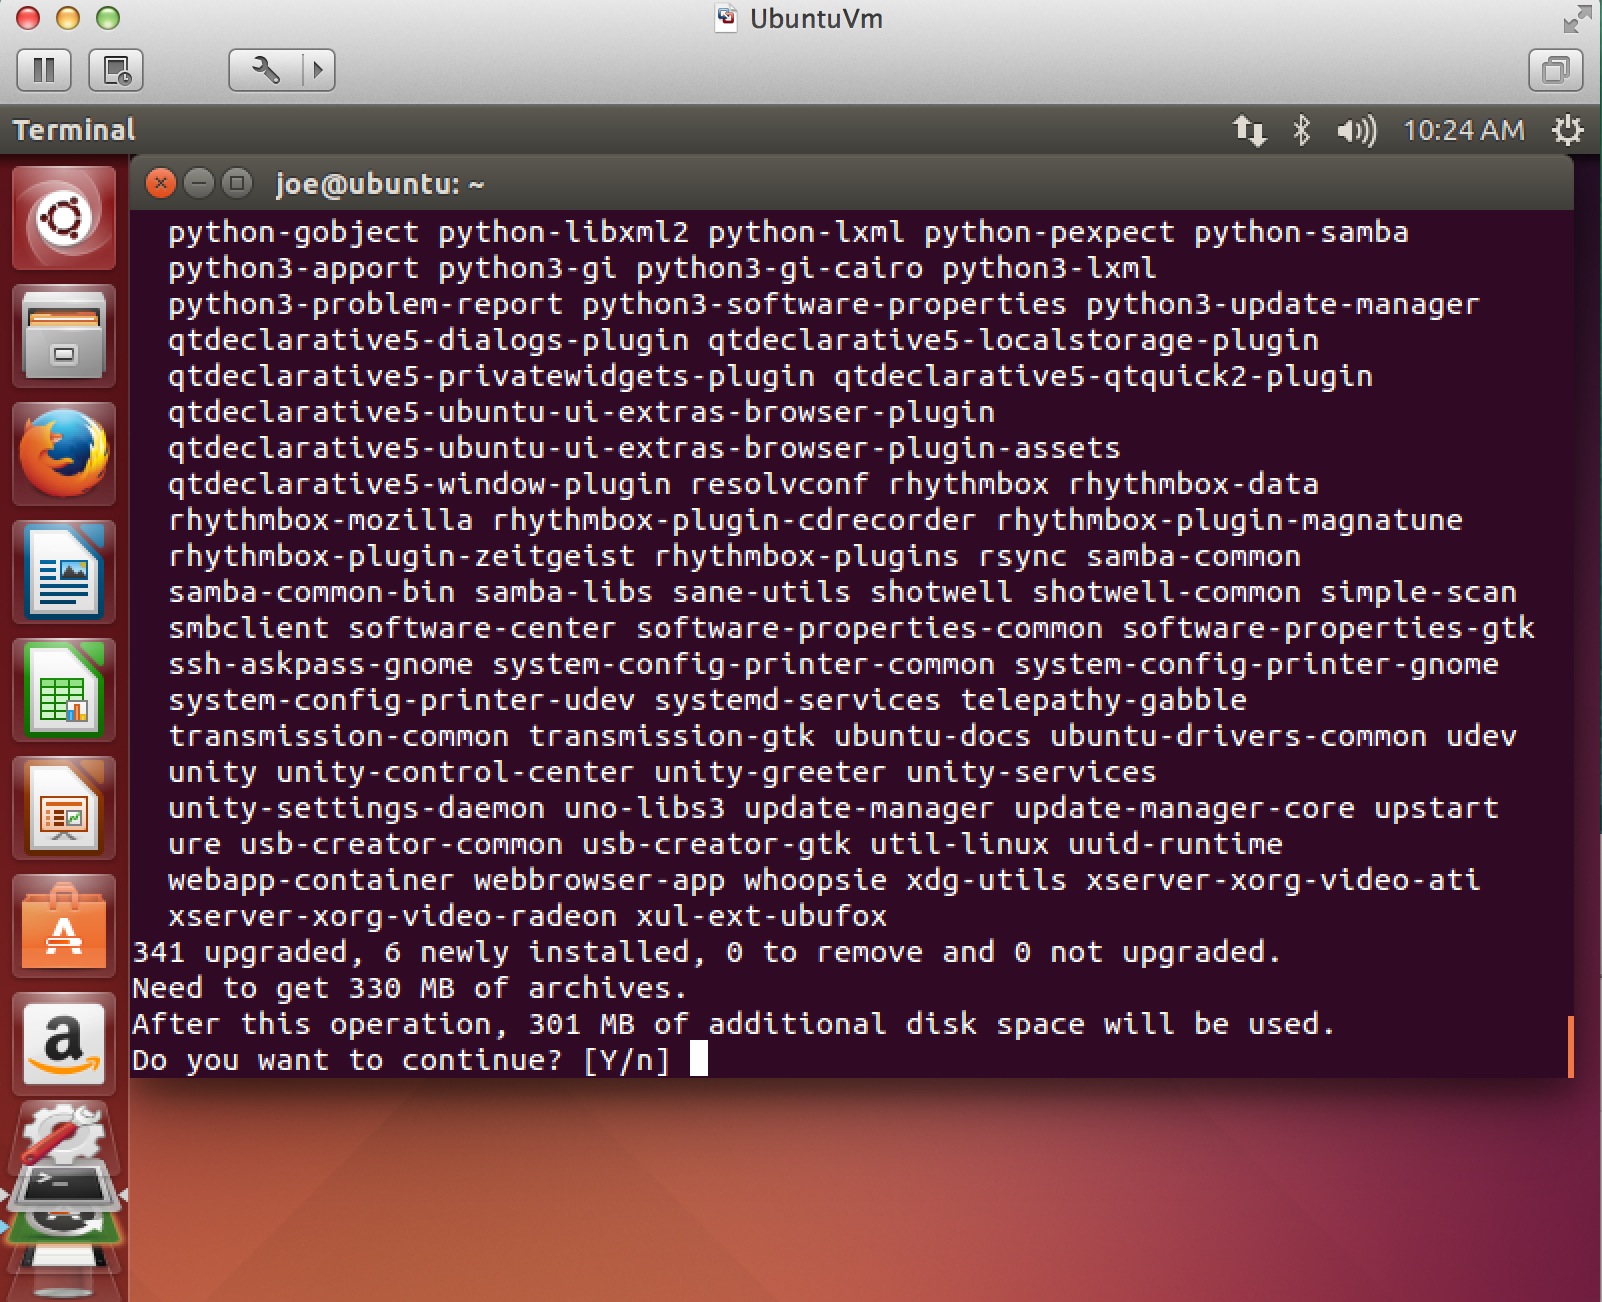
Step 11: Install security updates

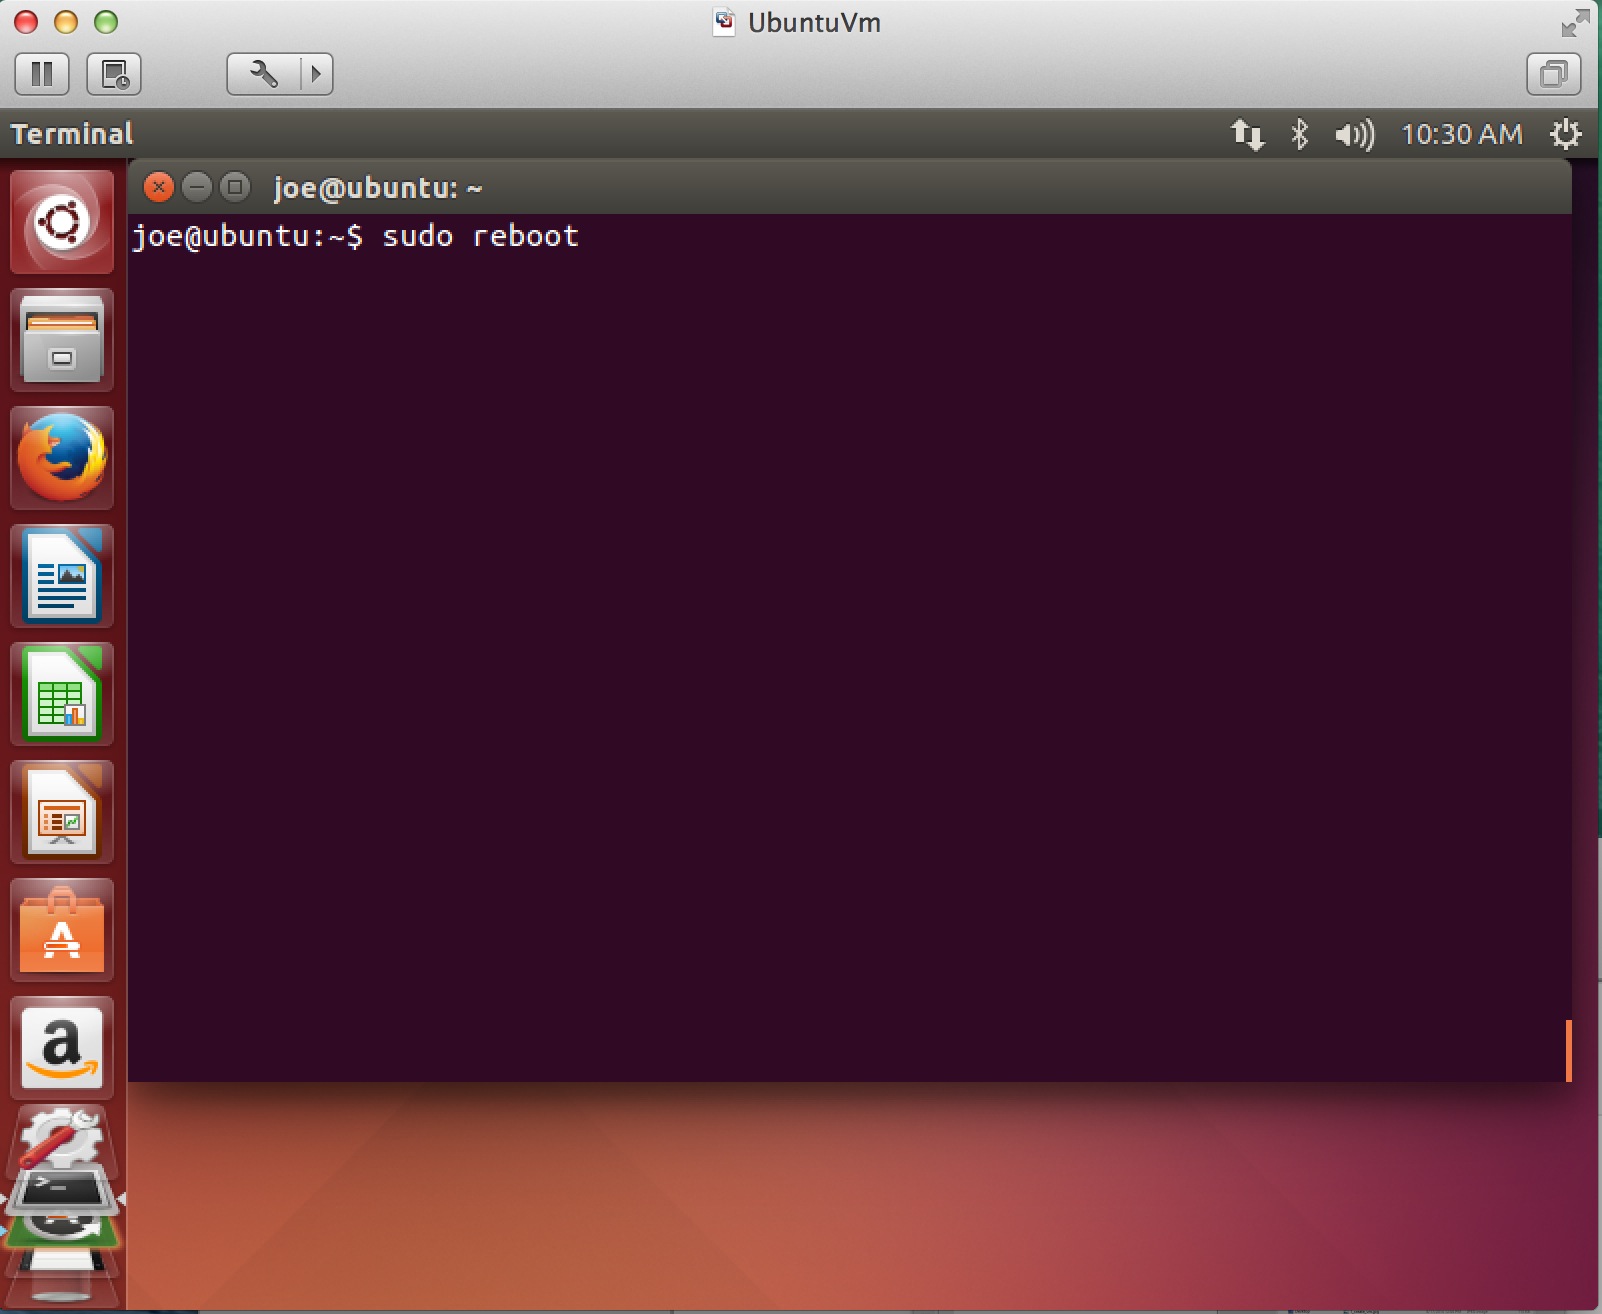
Step 12: Reboot